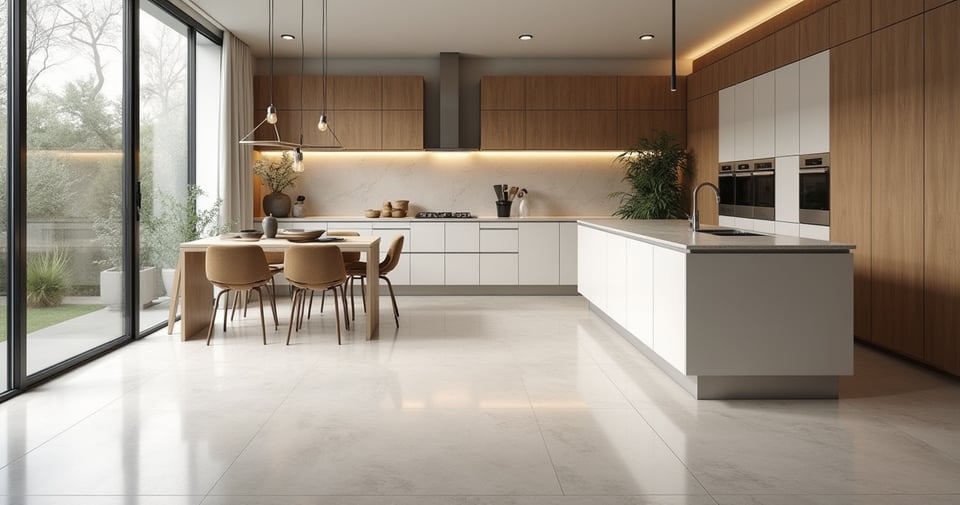
Can we talk about why everyone gets kitchen floors wrong? It’s my biggest pet peeve. People spend weeks agonizing over the perfect shade of Moroccan blue or the most intricate pattern, but they completely ignore the parts that actually make a floor last. It’s like admiring a beautiful silk áo dài that’s been stitched with cheap, flimsy thread. It looks stunning for a moment, and then it simply falls apart. The real art of a great floor isn’t just what you see; it’s in the silent, invisible foundation that holds it all together.
I spent years learning this, trying to bridge the gap between the clean, rigorous lines of European modernism and the deep, soulful principles of Vietnamese design. What I discovered is that a truly sophisticated space is a balanced one. It has Dương—the bright, strong, visible beauty of the tile itself. But it also must have Âm—the quiet, resilient, unseen strength of what lies beneath. You need both. Here’s how you get there, skipping the corporate speak and focusing on what truly matters.
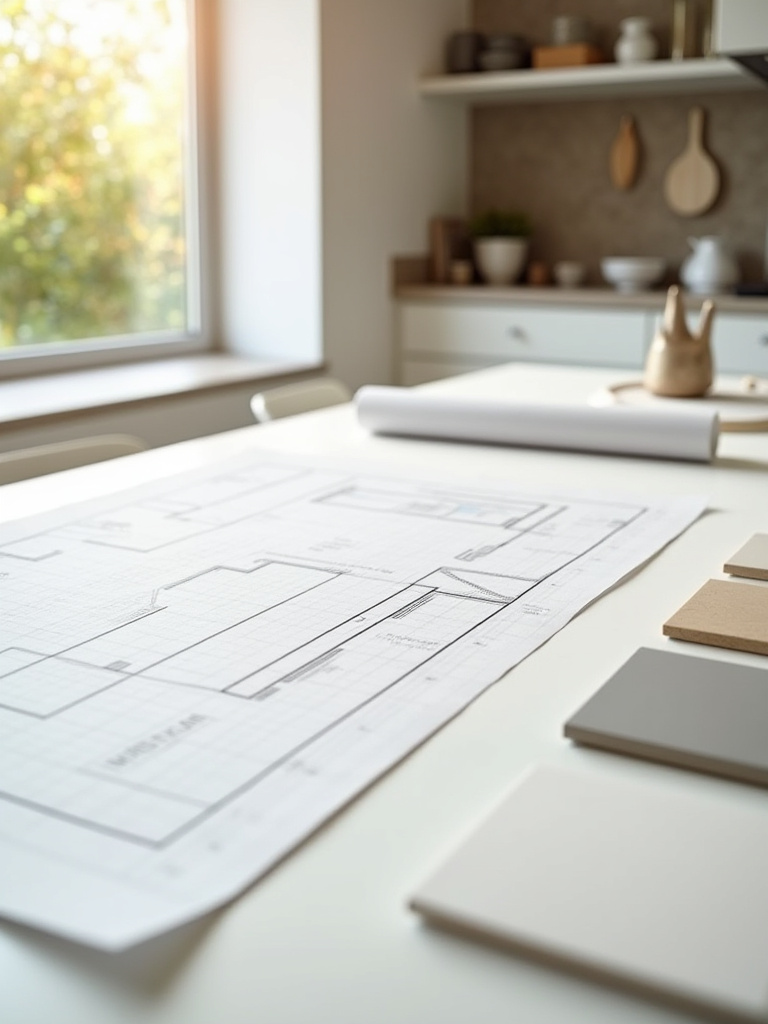
Strategic Selection & Design Foundations
This is where the soul of the project is born. It’s not about picking tile from a catalog. It’s about understanding the energy you want to create and choosing materials that honor that vision, both in how they look and how they perform.
1. Choose the Right Hardness (PEI), Because Durability is a Form of Grace
Everyone wants a floor that looks good. But a truly elegant floor is one that can handle life without showing the scars. The PEI rating isn’t just some boring technical number; it’s a measure of the tile’s resilience, its ability to withstand the chaos of a lived-in kitchen. In European design, function dictates form. A material must be suited to its purpose. Ignoring this is just bad design.

For a kitchen—the heart of the home, with its endless foot traffic and dropped pans—you should look for PEI Class IV. It’s the standard for a reason. Anything less, like a Class III, is like bringing a beautiful but delicate teacup to a construction site. It won’t last. I once had a client who fell in love with a gorgeous, but lower-rated, Italian tile. It was a battle, but I convinced them to go with a tougher German porcelain in a similar style. A year later, their friend who bought the Italian tile was already seeing dull spots and scratches, while my client’s floor looked as pristine as the day it was laid. That’s the shortcut: choose strength from the start.
Now that we’ve established a foundation of strength, let’s talk about creating a space that feels safe and effortless to move through.
2. Prioritize Slip-Resistance (DCOF), Because a Home Should Nurture, Not Harm
What good is a beautiful kitchen if you’re constantly afraid of slipping? In Vietnamese culture, the flow of energy—or khí—is everything. You want a space that feels effortless and inviting, where movement is fluid and natural. A slippery floor is the definition of bad khí. It creates tension and anxiety, the exact opposite of what a home should feel like.

The technical term is the DCOF rating, and you want a value of 0.42 or higher. Honestly, for a kitchen, I push my clients to go for 0.50 or more. Forget polished, glossy surfaces here. They belong in a hotel lobby, not where you might spill olive oil or water. Look for matte, honed, or textured finishes. They provide a subtle, tactile grip that feels grounding underfoot. A polished floor might reflect more light, but a matte floor absorbs it, creating a calmer, more serene energy. It’s a choice between superficial flash and deep, quiet safety.
From safety and strength, we move to the element that ties everything together: the lines between.
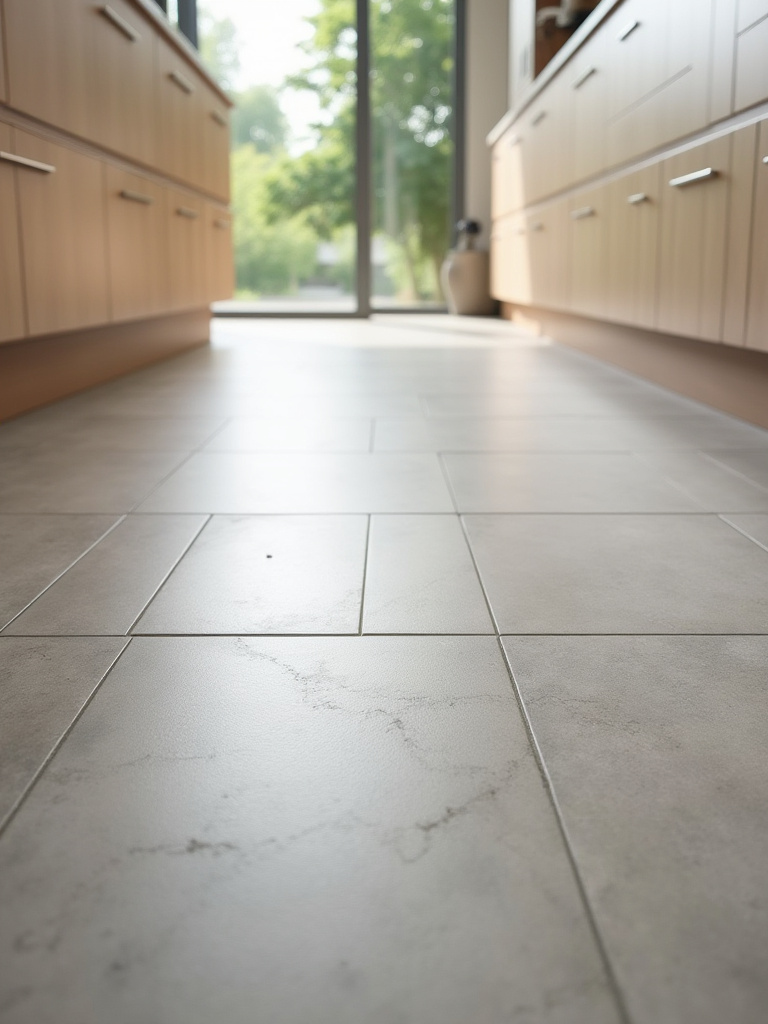
3. Realize Grout Color Defines the Energy of the Floor
People think grout is just glorified caulk. It’s not. It is the connective tissue of your floor. The color you choose completely dictates the room’s rhythm and energy. Do you want your floor to feel like a single, seamless, monolithic surface? Or do you want it to be a grid, a pattern of individual moments? This is a fundamental design choice.

To create a calm, expansive feeling—a hallmark of modernism—you should match the grout color as closely as possible to the tile. This makes the lines disappear, giving you a serene, uninterrupted plane. It’s like a quiet lake. But if you want to create visual energy and pattern, a contrasting grout will make each tile pop. Think of classic Parisian bistros with their black grout and white tile. It’s dynamic and graphic. A client of mine, an artist, chose a deep terracotta tile and a pale sage grout. The floor itself became a piece of art, a grid of earthy tones. The lesson? Don’t let your installer pick the grout. You decide if you want silence or song.
With the core design elements decided, we must turn to the practical reality of execution.
4. Calculate Tile Quantities with Respect for the Process
Under-ordering tile is one of the most common—and soul-crushing—mistakes you can make. It’s not just about running out. It’s about dye lots. The tile you buy today will not be a perfect match for the tile you might have to buy three weeks from now. Even a subtle difference will scream at you once it’s on the floor. It disrupts the harmony.
So here is the rule: measure your space, calculate the square footage, and then add a waste factor of 15%. Always. If you’re doing a complex pattern like a herringbone, make it 20%. It might feel wasteful, but this isn’t waste. It’s insurance. It’s a sign of respect for the craft. You’re acknowledging that cuts need to be made, that mistakes can happen, and that having extra is a form of foresight. I tell all my clients to buy one extra box and store it. Twenty years from now, if a tile cracks, you won’t be lamenting a discontinued line. You’ll have the solution, perfectly matched, waiting.
Planning for materials is one thing; planning for their visual impact is another.
5. Plan a Layout That Guides the Eye and Expands the Space
How you lay your tile is just as important as the tile itself. You can use pattern to manipulate the perception of space. In a narrow galley kitchen, laying rectangular tiles along the longest wall will draw the eye forward, making the room feel longer and more graceful. It’s a classic modernist trick for creating clean, directional lines.
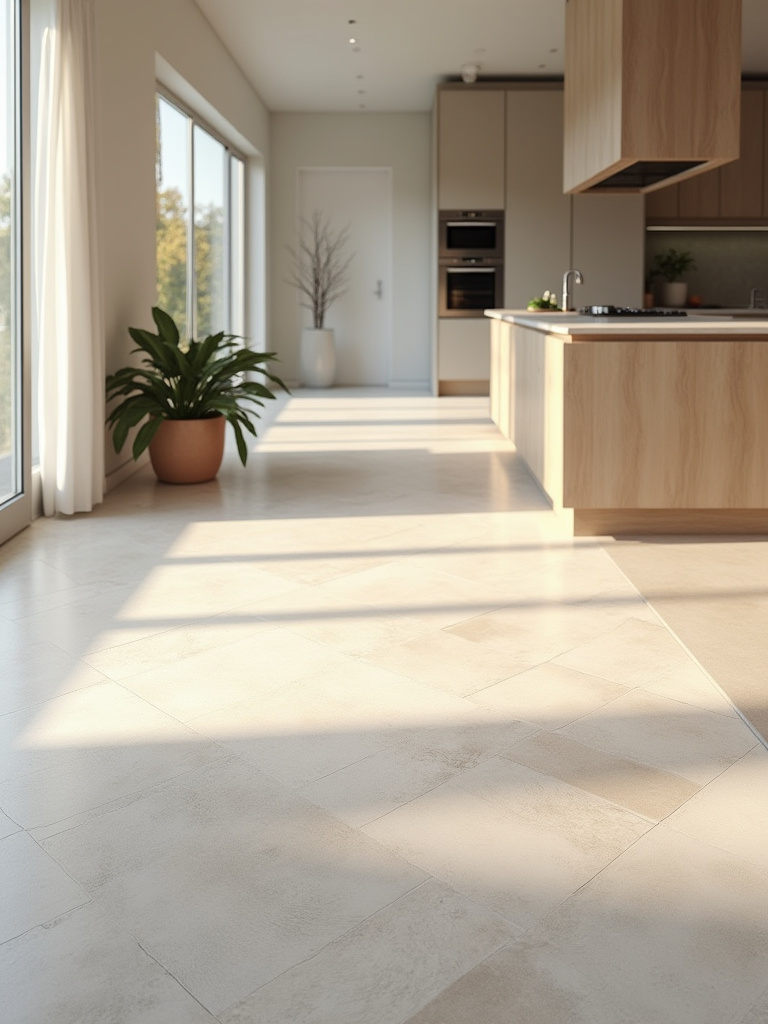
If you want a small kitchen to feel larger and more dynamic, a diagonal layout is magic. It breaks up the boxy feel of the room and makes the floor seem to expand in all directions. It’s a bit more work and requires more material, but the effect is powerful. Before you commit, do a “dry lay.” Place the tiles on the floor without any mortar. See how the lines flow around your island or into the next room. You’ll quickly discover where the awkward cuts will fall and can adjust your starting point to hide them in less visible areas, like under the toe-kick of a cabinet. This isn’t just about installation; it’s choreography.
With a solid design plan, we can now move to the part that brings it to life—the hands-on work.
Pre-Installation & DIY Techniques
This is where the Âm—the unseen foundation—is built. Rushing this stage is a guarantee for failure. Patience and precision here will reward you for decades. This isn’t just construction; it’s the creation of a stable, supportive base for your daily life.
6. Prepare Your Subfloor as if Your Entire Home Depends On It. (Because It Does.)
This is the most important step. Full stop. You can have the most expensive, durable porcelain tile in the world, but if you lay it on a subfloor that is uneven, dirty, or flimsy, it will fail. The thin-set mortar is an adhesive, not a leveling compound. To expect it to fix a bad foundation is naive. It’s the “beautiful house on sand” problem I mentioned.
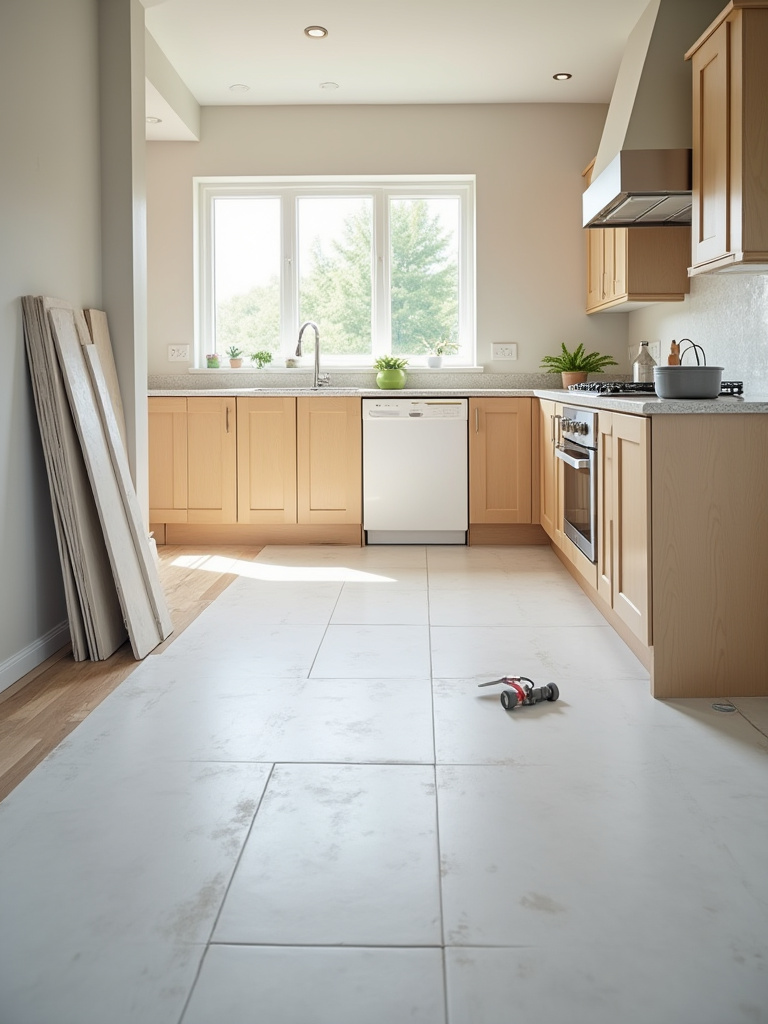
Your subfloor needs to be clean, flat, and rigid. Flat means no more than a 1/8-inch deviation over 10 feet. Use a self-leveling compound to fix dips and valleys. Most importantly, use an uncoupling membrane. Think of it as a flexible buffer that sits between the subfloor and the tile. When the house naturally shifts or the subfloor expands and contracts, the membrane absorbs that movement so your tile and grout don’t crack. It’s a modern European innovation that honors the ancient Asian wisdom of building with flexibility, allowing the structure to move with nature rather than fighting against it.
A solid foundation needs the right bond to connect to what comes next.
7. Choose a Mortar That Understands Your Tile
Using the wrong mortar is like trying to build a relationship on a lie. It’s a bond that’s destined to fail. All mortars are not created equal. Large-format porcelain tiles need a specific mortar that’s stickier and cures more slowly to prevent sagging. Light-colored marble or travertine needs a white mortar, because a standard gray one can literally bleed through and stain the stone from behind, a phenomenon called “shadowing.”
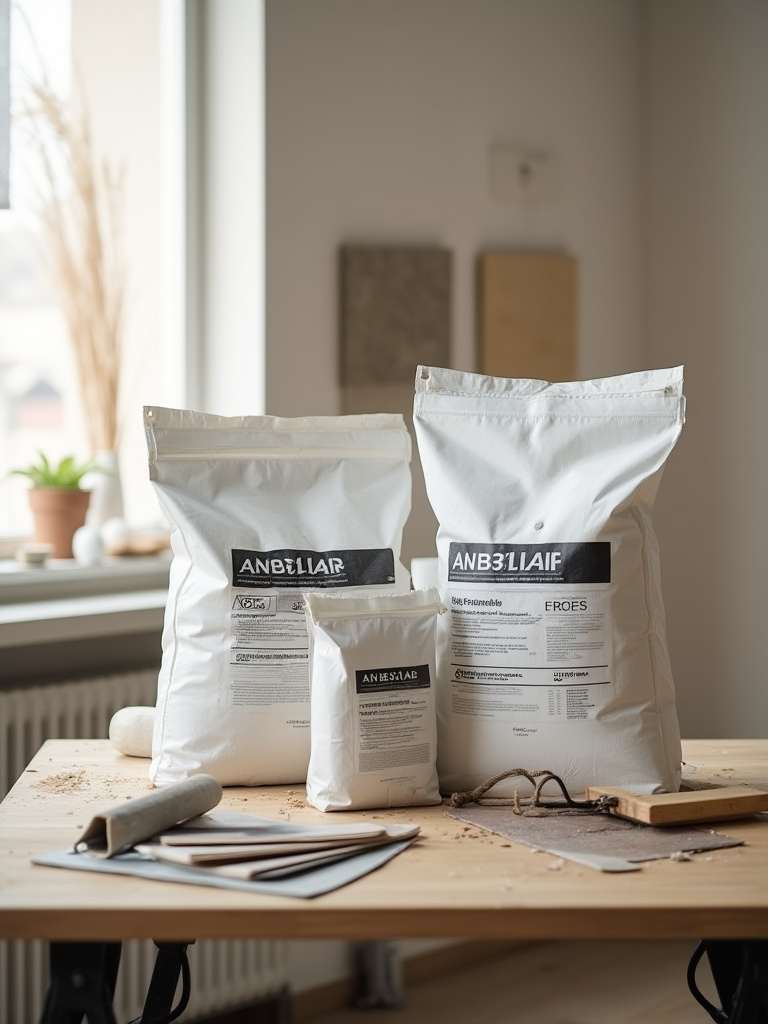
Read the bag. It’s that simple. The manufacturer has done the chemistry for you. Don’t grab the generic “all-purpose” bag to save ten dollars. This is the handshake between your expensive tile and your perfectly prepared subfloor. You want it to be firm, trustworthy, and lasting. One of my first jobs as an assistant was fixing a floor where the installer used the wrong mortar for 24×24-inch tiles. They were hollow in the middle, and a few had cracked right in half. It was a complete teardown. That mistake cost the client thousands, all because someone tried to save a few bucks on mortar.
With the tile ready to be bonded, our attention turns to the spaces in between.
8. Master Grout Line Spacing, Because Rhythm Matters
The space between your tiles—the grout line—creates the rhythm of the floor. And inconsistency is jarring. Even a tiny variation, when multiplied across an entire floor, creates a visual chaos that feels cheap and unsettling. Precision here is a form of respect for the overall design.
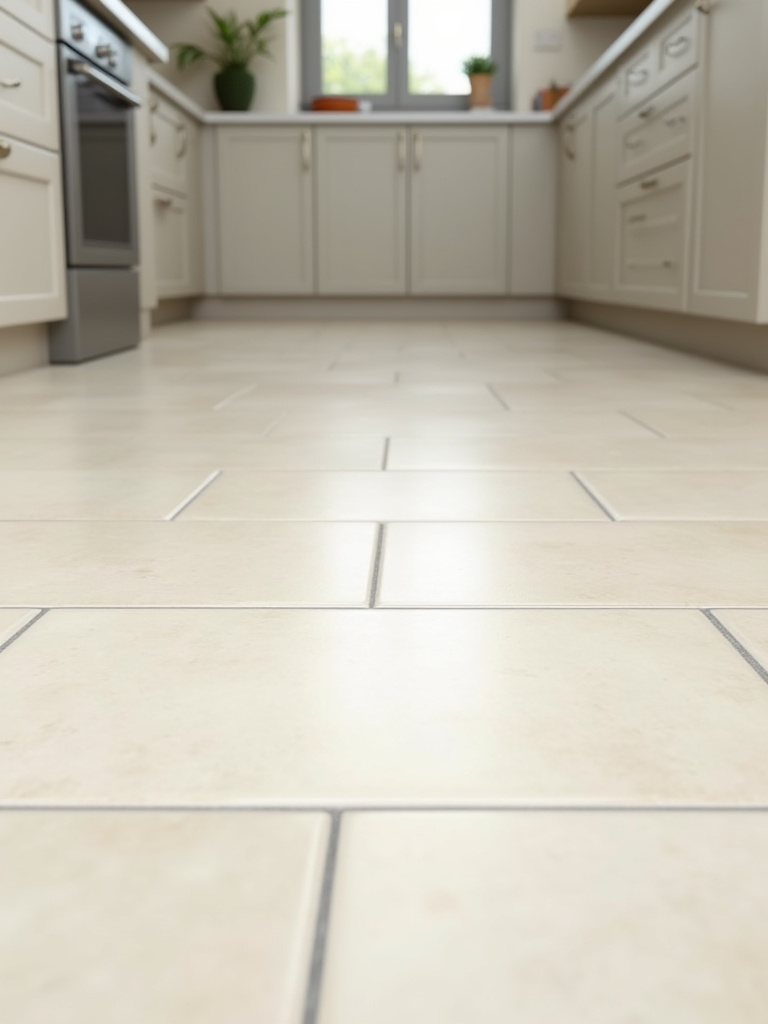
For this, there is no substitute for spacers and a leveling system. Spacers ensure every gap is identical. A leveling system—a simple kit of clips and wedges—is even more critical. It locks the tiles together at the edges, preventing one tile from sitting slightly higher than its neighbor. This is what stops “lippage,” that annoying feeling of catching your shoe on an uneven tile edge. The result is a floor that is visually and physically seamless, a perfectly flat plane that embodies the clean, uninterrupted surfaces of modernism. Don’t “eyeball” it. Ever.
Once you know where things go, you have to make them fit.
9. Learn to Cut Tile with Precision and Respect
Cutting tile requires a balance of force and finesse. You are reshaping a hard, brittle material to your will, and you have to do it cleanly. Using a dull blade or forcing a cut shows a lack of respect for the material, and the tile will protest by chipping or cracking unevenly. The goal is a cut so clean it looks like a factory edge.
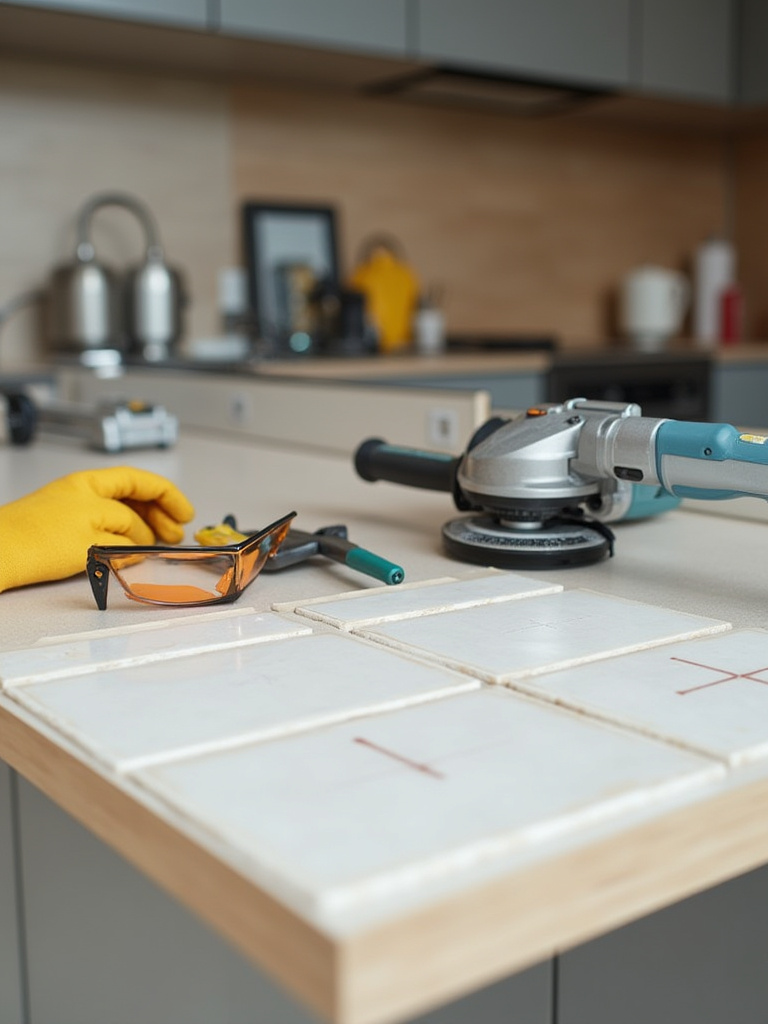
For most ceramic and porcelain, a simple score-and-snap cutter works for straight cuts. But for intricate cuts—around a door frame or an outlet—a wet saw is your best friend. The water keeps the blade cool and minimizes dust, resulting in a cleaner, smoother edge. I learned the hard way on a personal project, trying to nibble away at a curve with tile nippers. I broke three tiles before finally borrowing a wet saw. The difference was night and day. It’s about having the right tool and letting the tool do the work. Be patient. Practice on scraps. A clean cut is a mark of true craftsmanship.
The tiles are now in place, and the next step is to unify them.
10. Apply Grout to Unify, Not Just Fill
Applying grout is the final act of bringing all the individual tiles into a single, cohesive floor. This is your chance to create a strong, waterproof seal that protects the entire system. You want to work the grout deep into the joints, leaving no voids or air pockets. Voids are weak points where cracks will start and where water will inevitably find a path.
Mix the grout to a peanut butter consistency—no wetter. Too much water weakens it. Use a rubber float held at a 45-degree angle, and push the grout into the lines with firm, diagonal strokes. This forces it deep into the joint. Then, clean-up is an art. Use a damp sponge, not a wet one. Rinse it frequently in clean water. You’re gently smoothing the lines and cleaning the tile surface, not pulling the fresh grout out of the joints. Take your time. This final touch is what separates a DIY job from a professional one.
With everything in place, the most important work is done by time itself.
11. Respect Curing Time, Because True Strength Takes Patience
This is where Western impatience often clashes with Eastern wisdom. The project looks done, but it isn’t. The mortar and grout are undergoing a chemical reaction called hydration. They aren’t just drying; they are curing, building their internal crystalline structure, gaining their full strength. Rushing this is disastrous.
The bag will tell you the timelines, but here’s the reality: no foot traffic for at least 24-48 hours. No heavy objects—like sliding your refrigerator back—for at least a week, and ideally longer. I know the kitchen is the hub of the house, but find a way to live around it. This short period of patience will buy you decades of stability. I’ve seen floors fail within a year because a homeowner was in a hurry and compromised the mortar’s bond before it was ready. Let the materials settle. Let them breathe and find their strength. This is an act of trust in the process.
Your beautiful floor is now complete. The next phase is about preserving that beauty through thoughtful care.
Routine Care & Long-Term Preservation
A floor, like a garden, requires tending. The relationship doesn’t end after installation. Daily rituals and mindful maintenance will preserve its energy and beauty, ensuring it continues to be a source of pride and comfort.
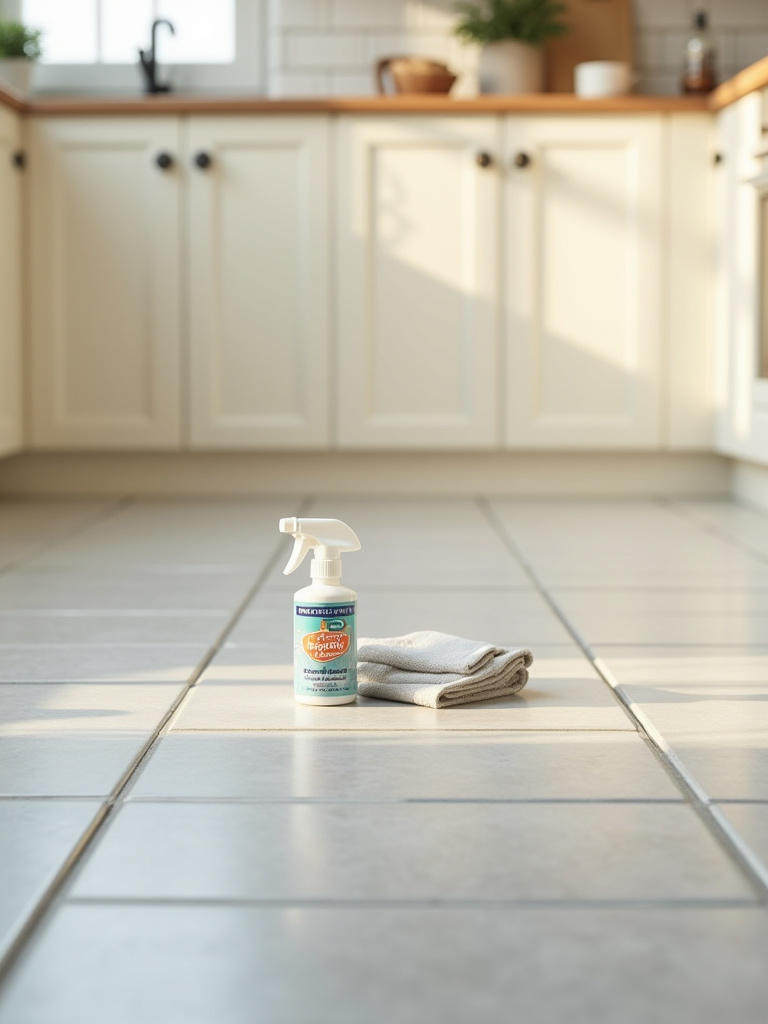
12. Make Daily Cleaning a Ritual of Respect
A clean floor is about more than just hygiene; it’s about maintaining clear, positive energy in your home’s most vital space. Think of the daily sweep not as a chore, but as a small ritual to reset the space. In a kitchen, crumbs and spills are a given. Letting them sit allows them to be ground into the surface, dulling the finish and staining the grout.
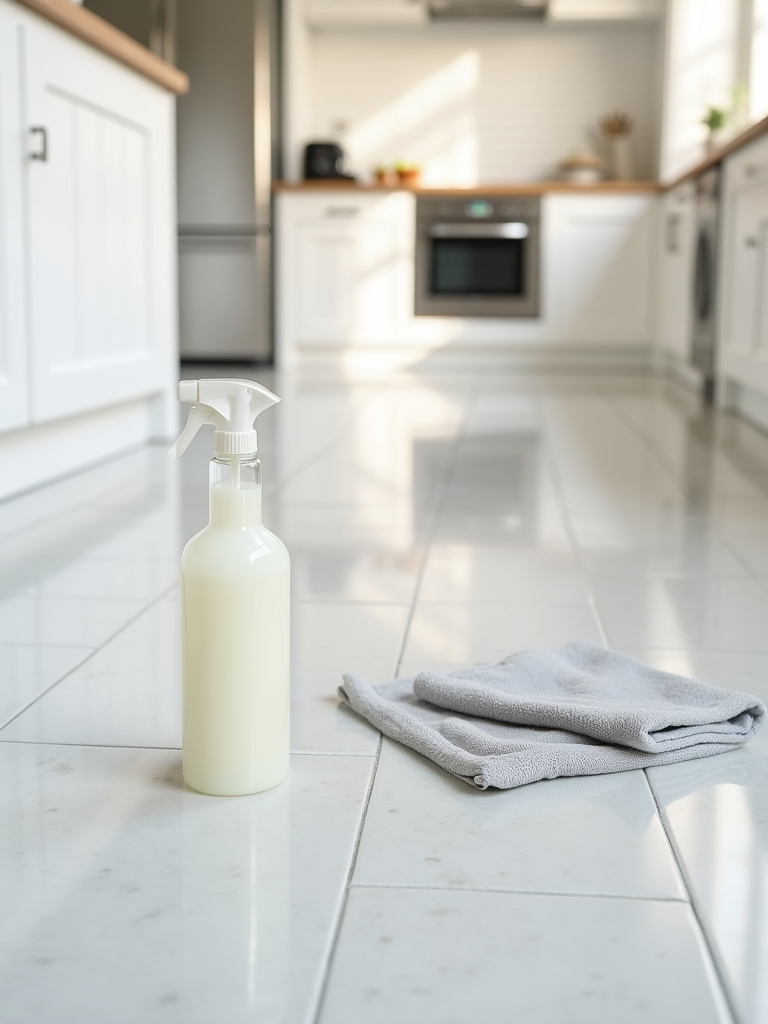
The simplest, most effective tools are a microfiber dust mop and a spray bottle of pH-neutral cleaner for spot-cleaning. Wipe up spills immediately, before they have a chance to penetrate the porous grout. This isn’t about scrubbing for hours. It’s about small, consistent acts of care. Placing a good mat at the entrance to your kitchen is also non-negotiable. It will trap the majority of the abrasive grit from shoes before it even has a chance to scratch your floor. This simple act is pure prevention.
Sometimes, though, daily care isn’t enough to combat stubborn grime.
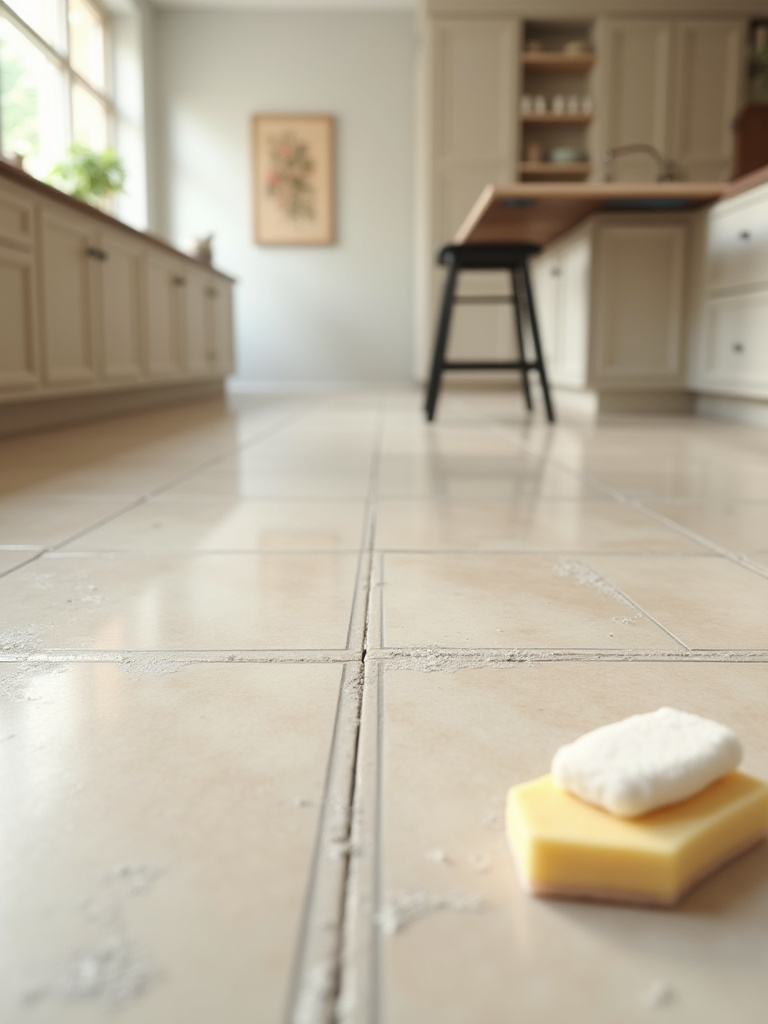
13. Use Deep Cleaning to Restore Balance
Even with diligent care, grout can slowly become discolored, especially in a busy kitchen. This is when a more focused, deep cleaning is needed to restore the floor’s visual harmony. This doesn’t mean reaching for the harshest chemical you can find. Abrasive or highly acidic cleaners can do more harm than good, etching the grout and damaging the tile’s finish.
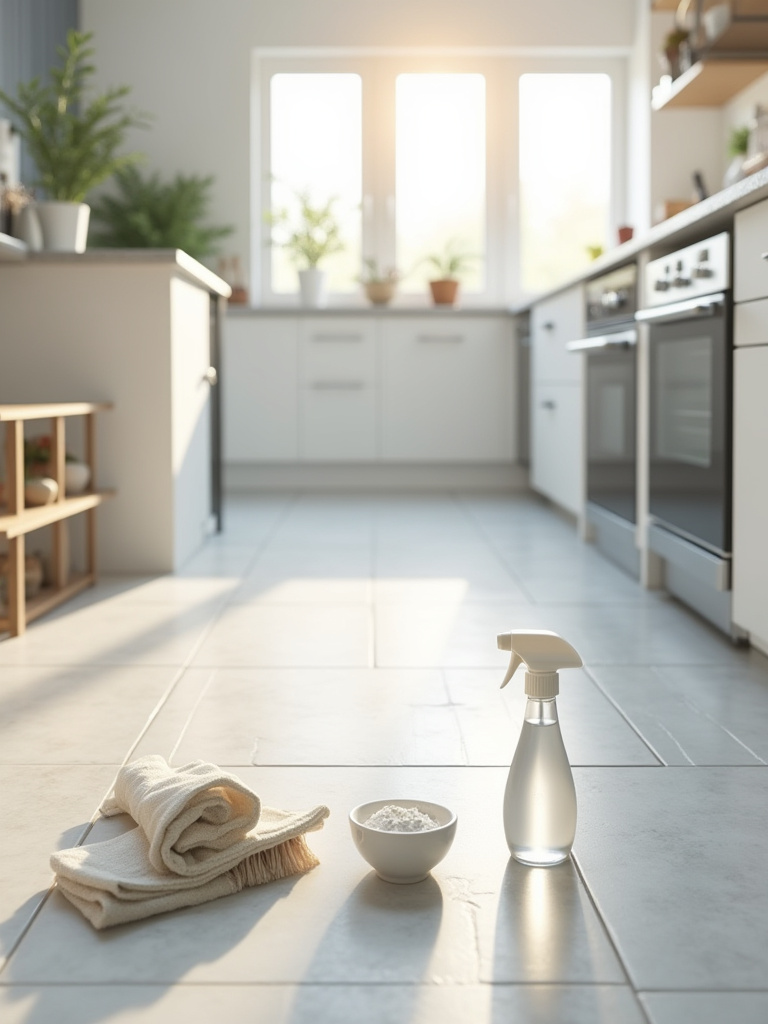
A simple paste of baking soda and hydrogen peroxide, left to sit for about 15 minutes and then scrubbed with a stiff nylon brush, works wonders. Oxygen bleach is another gentle yet powerful option. The key is to let the cleaner do the work, breaking down the grime before you start scrubbing. And always, always rinse thoroughly with clean water. Leftover cleaner residue is sticky and will attract dirt even faster. A quarterly deep clean can completely revitalize a floor, making the entire kitchen feel brighter and more cared-for.
Once your floor is clean, the next step is to protect it for the future.
14. Re-Seal Your Grout Annually to Preserve the Connection
Grout is porous. It’s a sponge. Sealing it creates an invisible shield that repels water, oil, and wine, giving you precious time to wipe up spills before they can cause a permanent stain. Think of sealer as a raincoat for your grout lines. Without it, they’re exposed to every drop and splatter.
This is a simple job you can do in an afternoon. After a deep clean (and ensuring the grout is bone dry), apply a high-quality penetrating sealer with a small brush or applicator bottle. Be precise, wiping any excess off the tile surface before it dries. Doing this once a year is one of the single best things you can do to preserve the look and longevity of your floor. It keeps the lines of connection clean and protected, both literally and figuratively. Test a spot with a drop of water; if it soaks in, it’s time to seal. If it beads up, your protection is still intact.
Beyond cleaning and sealing, you must also be mindful of physical threats.
15. Protect Your Floor from Heavy Appliances with Foresight and Gentleness
The heaviest things in your kitchen—the refrigerator and stove—are the biggest threats to your tile. Dragging one of these behemoths across the floor, even a few inches, can cause a catastrophic crack or a deep, ugly scratch. This requires mindful movement.
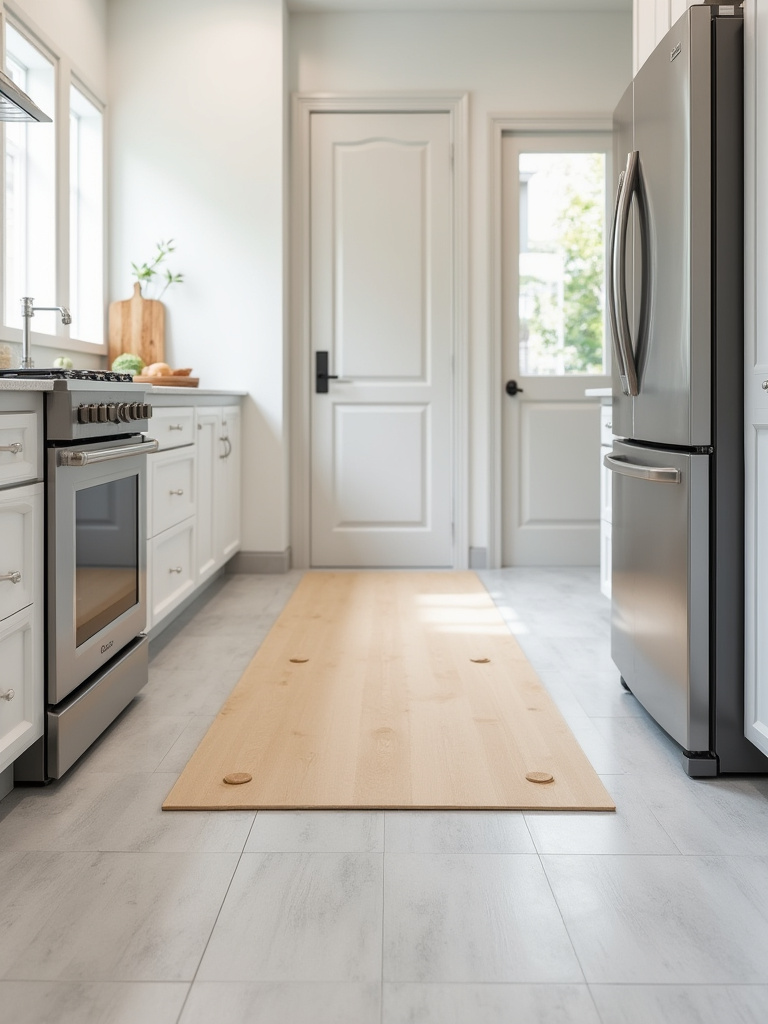
When installing or moving appliances, never let them touch the tile directly. Lay down a path of plywood or hardboard to distribute the weight. Use appliance sliders under the feet. These simple tools allow you to glide the appliance without gouging the floor. And when you need to lever something up, always put a piece of scrap wood under the pry bar to protect the tile’s edge. This isn’t about being precious; it’s about acknowledging the immense, concentrated force you’re dealing with and acting with foresight. Don’t let a moment of carelessness create a permanent scar.
Everyday furniture can be just as damaging over time if you’re not careful.
16. Prevent Scratches with a “No Drag” Philosophy
It’s not just the big appliances. The daily scraping of chair and table legs across your tile is like taking fine-grit sandpaper to the finish. Over time, this creates a network of micro-scratches that dull the surface and trap dirt. This is an easy problem to solve.
Apply high-quality felt pads to the bottom of every piece of furniture that moves. Check them every few months and replace them when they get worn or compressed. The second part of this philosophy is simple: lift, don’t drag. Whether it’s a chair, a plant pot, or a box of deliveries, lifting it instead of sliding it is a small act of kindness to your floor that pays huge dividends in the long run. Combined with daily sweeping to remove abrasive grit, this will keep your tile’s finish looking vibrant for years.
Sometimes, despite your best efforts, damage happens. Here’s how to handle it with grace.
Advanced Solutions & Revitalization
Over time, even the best-laid floors may need more than just cleaning. This is about addressing issues at their root, whether it’s a single cracked tile or the desire for a fundamental upgrade in comfort.
17. Repair Cracked Tiles to Mend, Not Just Replace
A chipped or cracked tile is a break in the visual field and, more importantly, a breach in your floor’s defenses. It’s an open door for water to seep in, which can lead to much bigger problems down the line. But you don’t always need to rip out the whole tile. For smaller chips and cracks, a repair is often a more elegant solution.
You can use a two-part epoxy kit, often with tints that allow you to color-match your tile perfectly. Carefully clean the damaged area, fill it with the epoxy, and smooth it flush. There’s a certain beauty in a well-made repair—it’s a nod to the Japanese concept of kintsugi, where broken pottery is mended with gold, honoring its history. While we aren’t using gold, the principle is similar: a skillful repair can restore wholeness without erasing the past entirely. It maintains the floor’s integrity while saving you the disruptive process of a full tile replacement.
When the problem is more widespread, a more dramatic refresh may be in order.
18. Regrout Your Floor for a Total Transformation
If your grout is stained, crumbling, and beyond the help of deep cleaning, regrouting is an incredibly powerful way to revitalize your entire kitchen without the expense of a new floor. It’s like repainting a room; the effect is dramatic and immediate. Removing the old, tired grout and replacing it with a fresh, clean color can make a 20-year-old floor look brand new.
This is a labor-intensive process, involving carefully scraping out the old grout with a special saw or an oscillating tool. But the payoff is huge. It not only restores the aesthetic but also renews the floor’s waterproofing and structural stability. This is your chance to change the energy of the floor, perhaps choosing a different color this time around. I had a client whose terracotta floor felt dated with its dark brown grout. We regrouted it with a warm, light cream color, and it completely modernized the space, making it feel lighter and more cohesive with her new cabinetry.
But what if the problem isn’t just the grout, but a tile that moves when you step on it?
19. Fix Loose Tiles to Address Problems at Their Root
A loose or hollow-sounding tile is a warning sign. It’s telling you that the bond—that critical handshake between the tile and the subfloor—has failed. Ignoring it is asking for trouble. A hollow tile is unsupported and much more likely to crack under pressure. And any gap beneath is a potential reservoir for moisture.
You can identify hollow spots by gently tapping on each tile with a wooden dowel. The sound will change from a solid “thud” to a hollow “thock.” For some hollow tiles, you can use an injection kit to squirt adhesive into the void through the grout lines. For a truly loose tile, you’ll need to carefully remove it, scrape off all the old mortar, and re-set it properly. This is about addressing the root cause, not just the symptom. You’re restoring the foundation and ensuring the floor is once again a solid, unified system.
Finally, let’s talk about taking your floor from just functional to truly luxurious.
20. Embrace Radiant Floor Heating for Elemental Comfort
There is little in home design that feels more luxurious than a warm floor underfoot on a cold morning. Radiant heating transforms tile from a famously cold material into a source of gentle, pervasive warmth. It’s a perfect fusion of modern technology and primal comfort. It provides an even, silent heat that feels more natural than forced air blowing from a vent.
Installing electric radiant mats under your tile is surprisingly straightforward during a renovation. It’s an upgrade that enhances not just your home’s value, but your daily quality of life. In an open-concept space, a warm tile floor can make the entire area feel more inviting and cohesive. It provides warmth from the ground up, a deeply grounding and comforting sensation. It is the ultimate expression of a space that is designed not just to be looked at, but to be truly lived in and enjoyed.
Conclusion
Your kitchen floor is far more than a utility surface. It’s the stage upon which your daily life unfolds. By approaching it with a balance of European technical rigor and a Vietnamese appreciation for harmony and flow, you create something that is more than just durable or beautiful. You create a foundation that feels right. It’s strong, it’s safe, and it has a quiet, considered grace.
Every choice—from the unseen uncoupling membrane to the visible rhythm of the grout lines—is an investment in that feeling. It’s about building a space that supports and nurtures you. So take these insights, trust the process, and lay a floor that isn’t just well-made, but is imbued with a sense of lasting quality and soul.