You know what people always ask me about Latin American design? They think it’s just about bright colors or buying a cactus. But it’s so much deeper than that. It’s about the soul of a space. It’s about the stories woven into a textile, the memory of a grandmother’s kitchen, the human hand that shaped the clay. And nothing pains me more than seeing people miss that magic, especially when it comes to their walls.
They treat wallpaper like it’s just disposable sticky paper. A temporary fix. But a wall is the biggest canvas in your home! It’s the backdrop for your life. When you choose what to put on it, you’re not just decorating; you’re telling a story. You’re choosing the energy you want to live with every day.
So when people say, “I’d love to do something beautiful, but it’s too expensive,” I just want to sit them down with a cup of strong coffee and tell them the real story. Creating a kitchen with heart, a kitchen that feels vibrant and alive, doesn’t need a huge budget. It needs resourcefulness and a little bit of passion. It’s about celebrating craft, even when you’re being clever with your money.
So, let me tell you how we bring that soul into the heart of your home—the kitchen—without breaking the bank. Forget the corporate nonsense. This is how it’s really done.
Smart Planning & Cost-Saving Design Choices
This is where the magic begins. Before you even touch a roll of paper, this is the dreaming stage. Think of it like an artist sketching a boceto before starting a mural. Making smart choices here isn’t about being “cheap”—it’s about being intentional. It’s about knowing where to pour your energy and resources to get the most soul for your dollar.
1. Prioritize Removable Peel-and-Stick Options for Future Savings
Okay, I used to be a purist. I believed in the tradition of paste and paper. But mija, peel-and-stick is modern magic, and we have to embrace it. Think of it less like a sticker and more like a beautiful, reusable textile for your walls. It gives you the freedom to change your mind, to experiment with a wild tropical print for a season and then switch to something more serene. This isn’t a mistake-in-waiting; it’s a commitment to letting your home evolve with you.
The real beauty here is that you’re not damaging your walls. No scraping, no sanding, no begging a landlord for your deposit back. You are preserving the bones of your home while dressing them up. To do it right, look for brands known for quality—not the super-thin stuff that looks like contact paper. Order samples! Always. Feel the texture, see the color in your kitchen’s light, and stick a piece in a hidden corner for a week to see how it holds and how easily it comes off. It’s a small step that honors both your home and your wallet.
This flexibility is key, but you also want something that will stand up to life.
2. Choose Durable Vinyl or Non-Woven Wallpaper for Longevity in Kitchens
A kitchen is the heart of the home, which means it’s a place of fire, steam, and the occasional flying spaghetti sauce. It’s alive! Your walls need to be able to handle that energy. While a delicate, handmade paper is a thing of beauty, a high-traffic area like a kitchen calls for something with a little more backbone. Choosing a durable vinyl or non-woven wallpaper isn’t a compromise on beauty; it’s a practical nod to a life well-lived.
Think of it like a beautiful, sturdy piece of folk art that’s meant to be used, not just admired from afar. Look at the product details for words like “scrubbable” or “washable.” These wallpapers are designed to be wiped down, to live through the chaos of daily cooking and still look stunning. This means you’re not re-doing your project in two years because of one bad grease splatter. You’re investing once, wisely. A busy kitchen deserves a wall that can keep up.
Now, that doesn’t mean you need to cover every wall in this tough stuff.
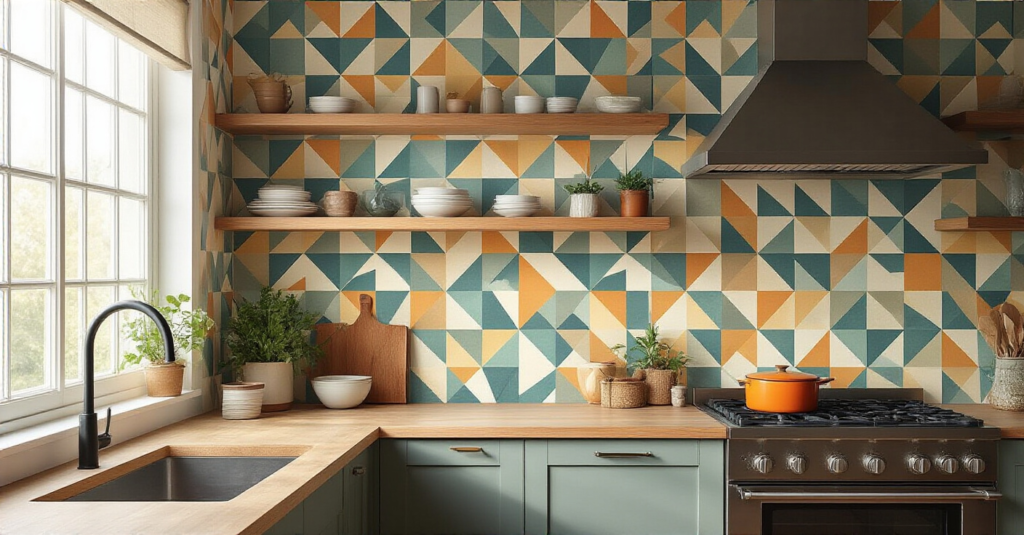
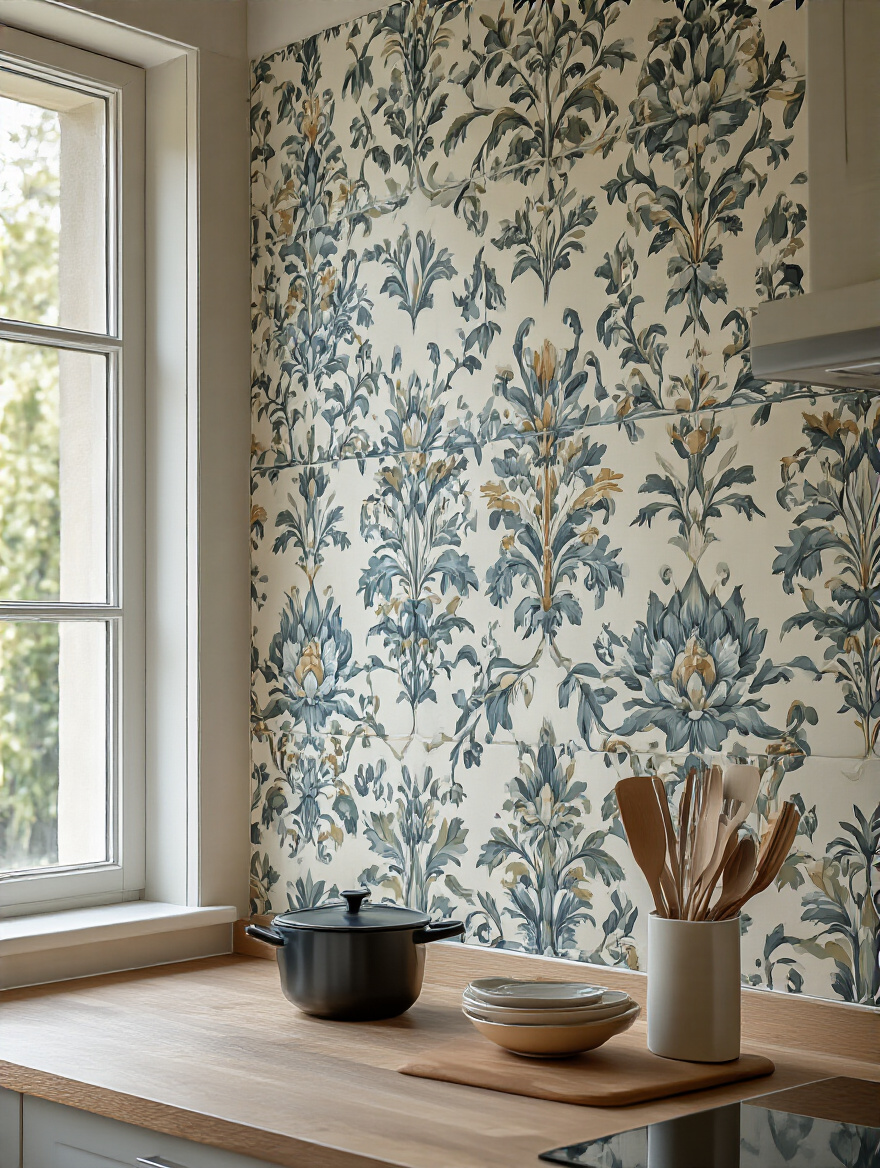
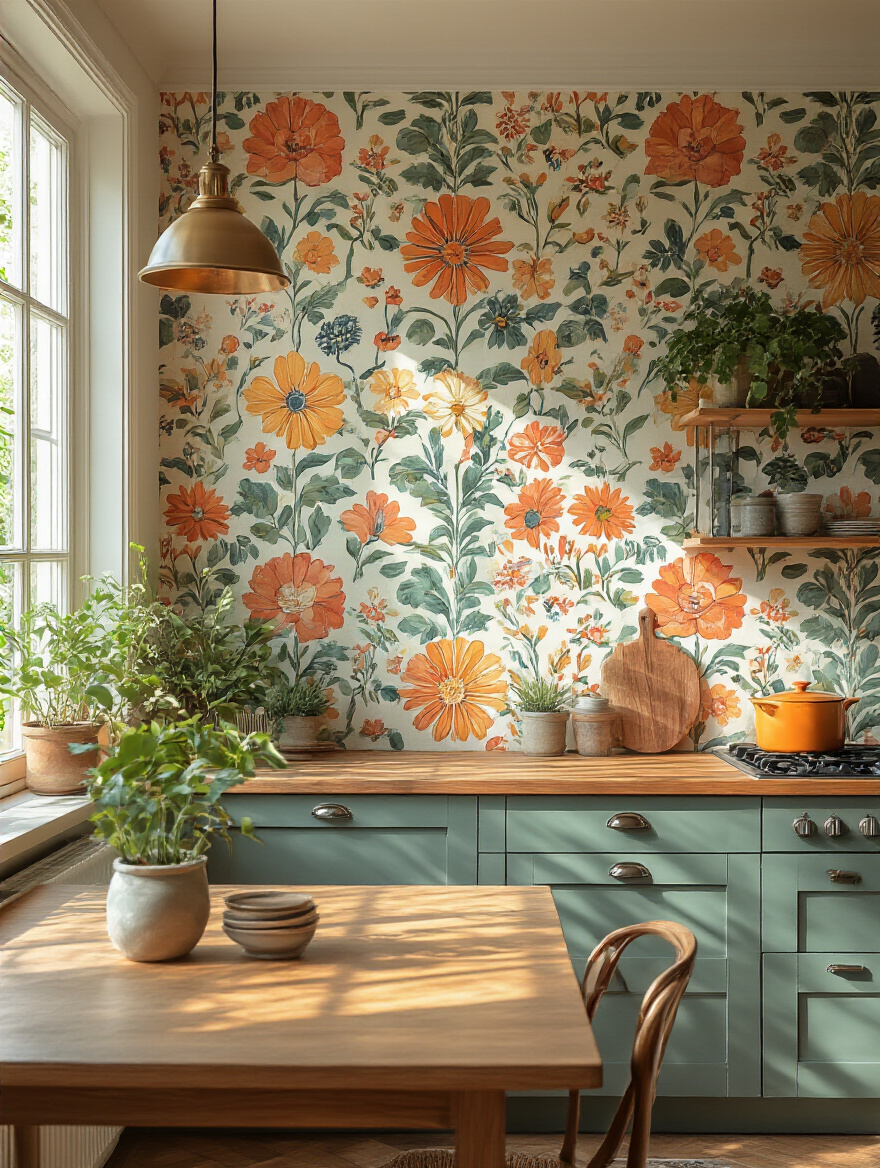
3. Opt for Strategic Accent Walls to Minimize Material Usage
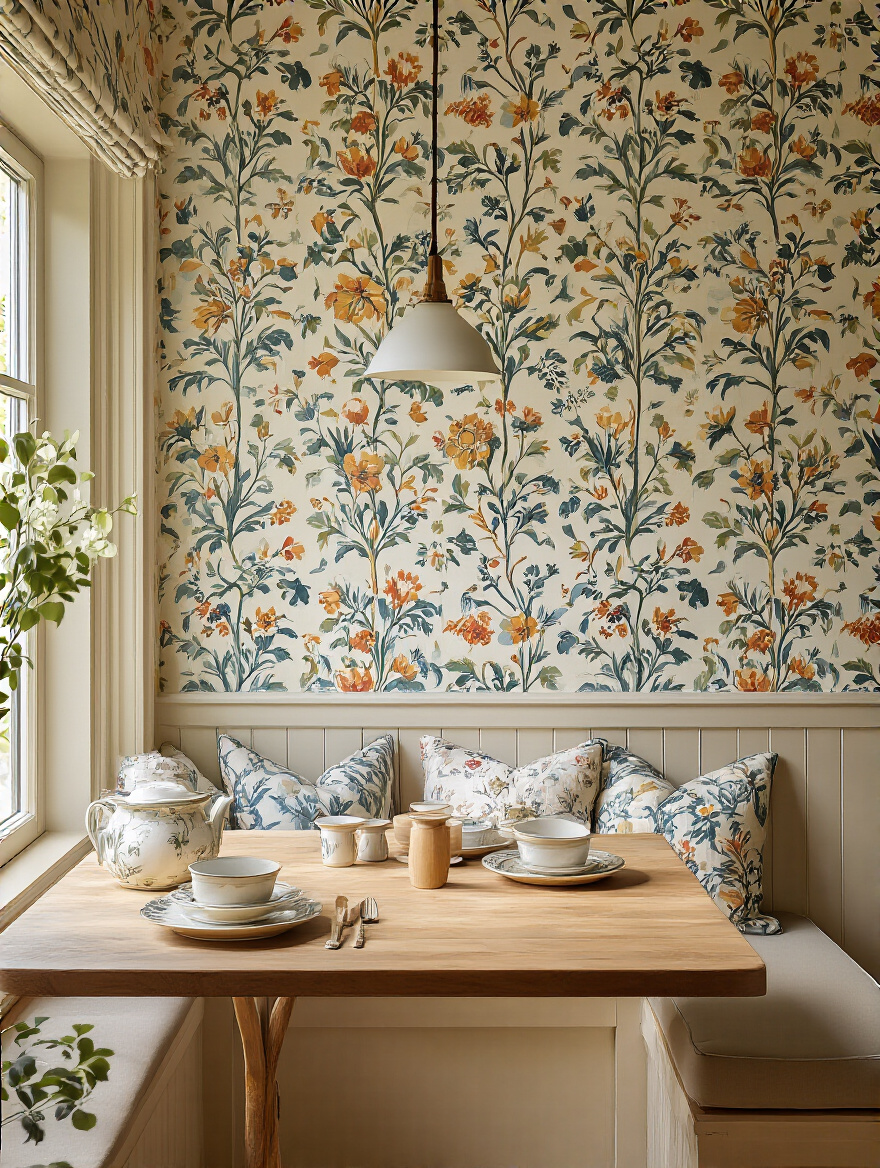
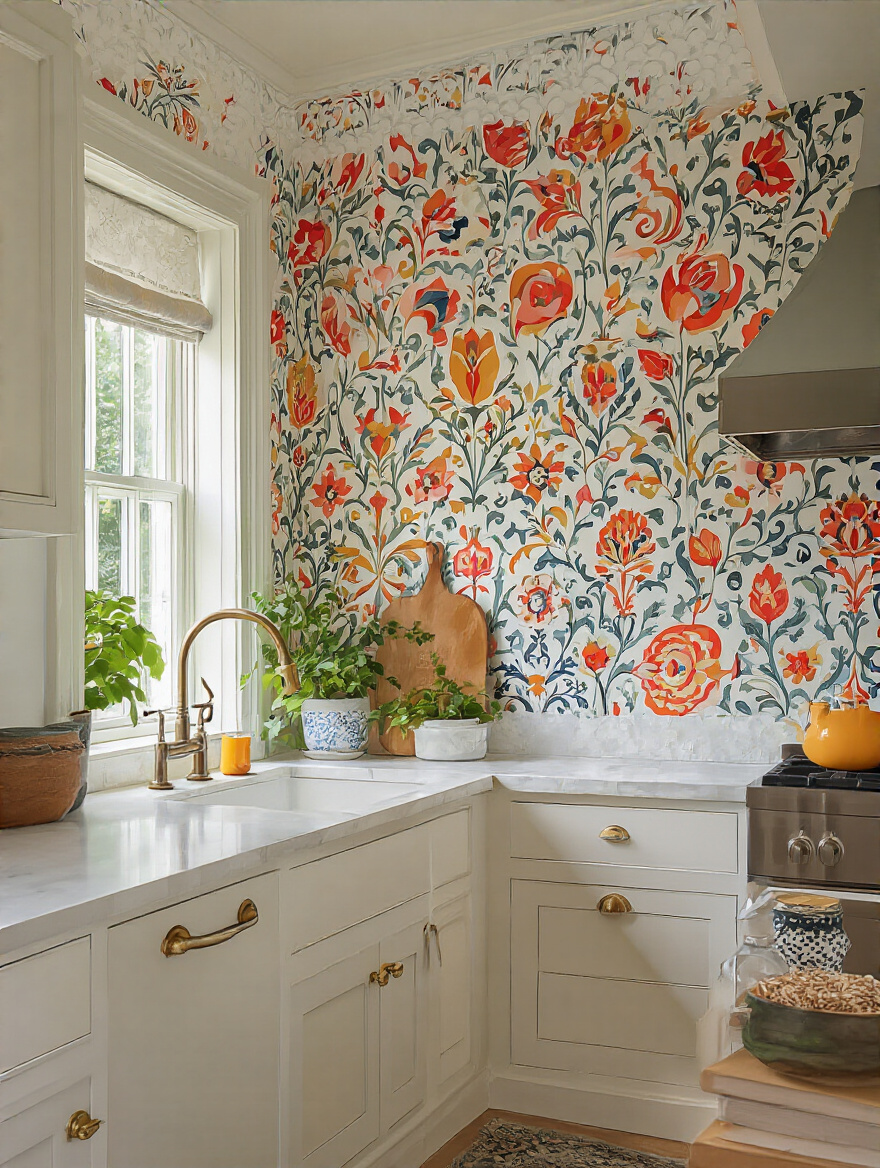
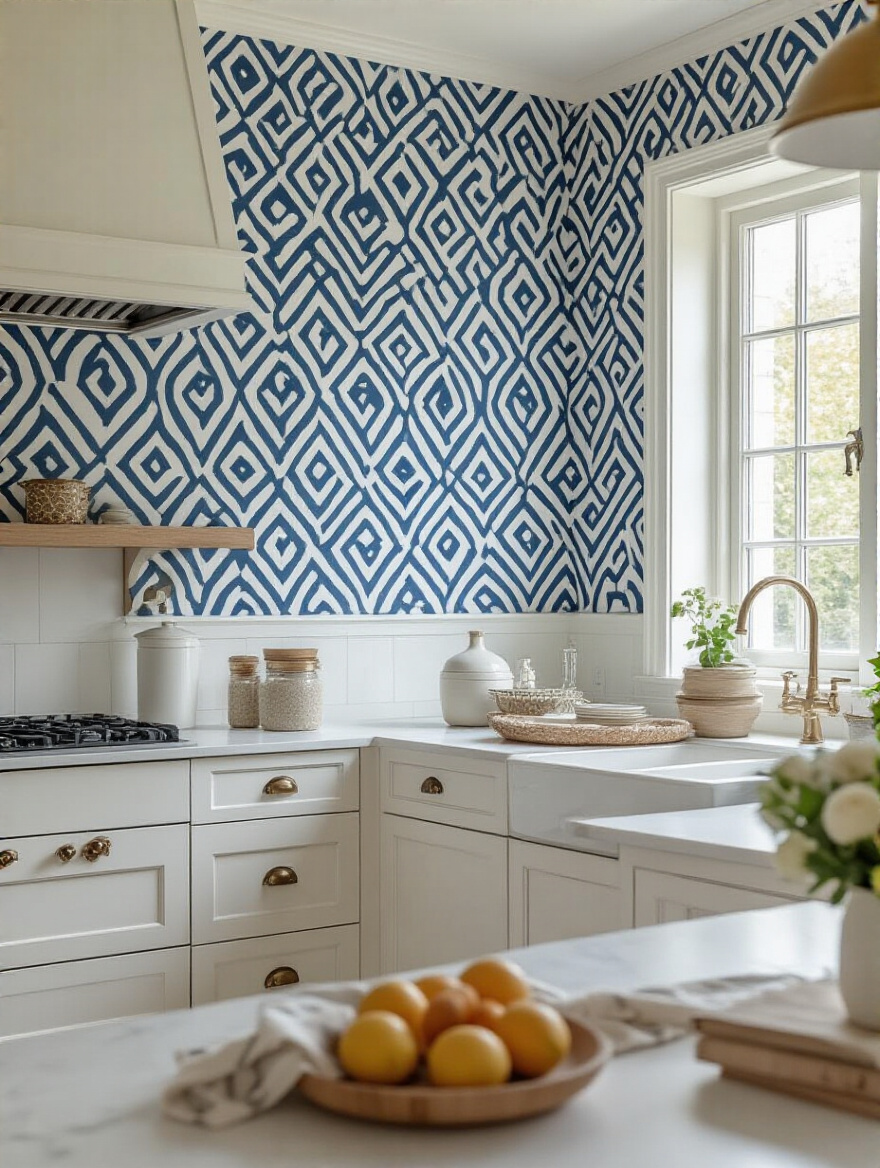
Not every wall in your kitchen needs to shout. Sometimes, one powerful voice is all you need. Creating an accent wall is one of my favorite secrets. It’s about creating a focal point, a retablo, for the room. It’s where you can really splurge on that breathtaking pattern—the one that feels like a piece of art—because you only need a roll or two. Instead of covering everything, you’re creating an intentional moment of beauty.
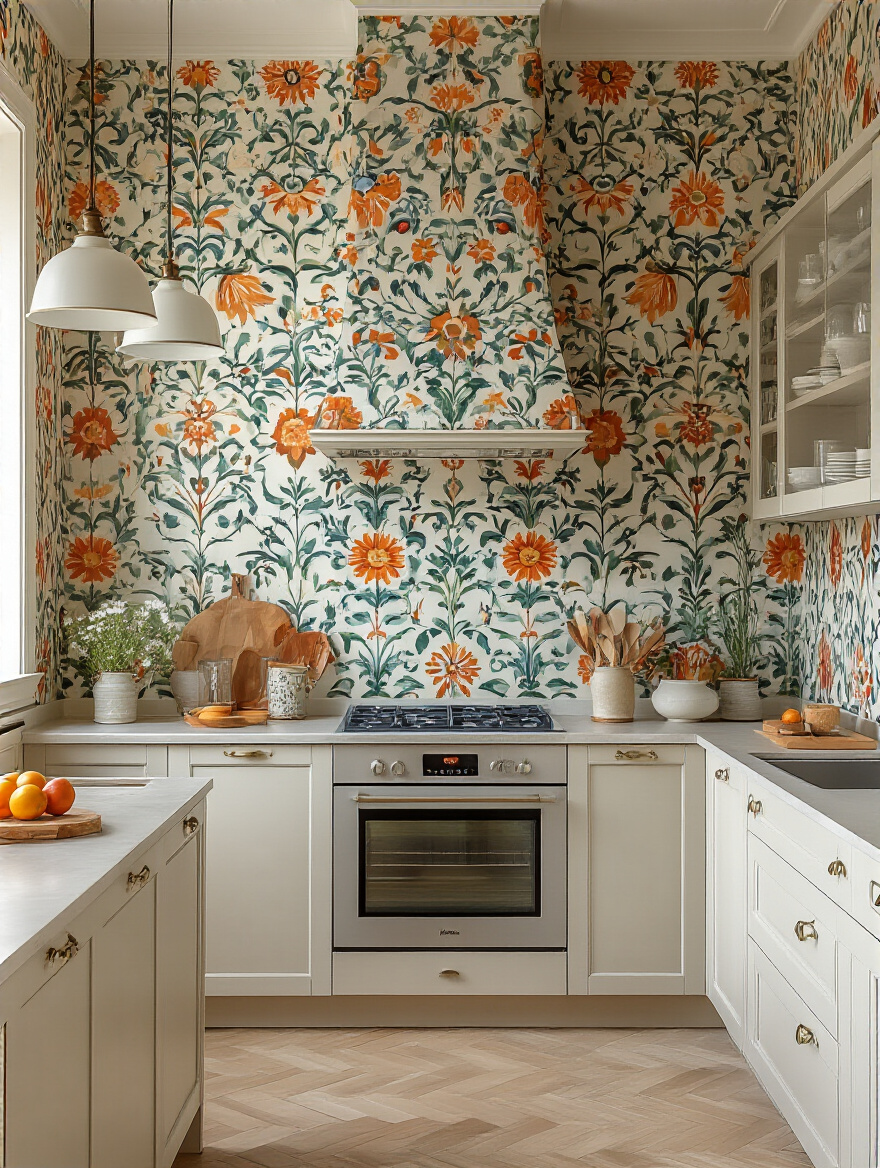
Look for the wall that your eye is naturally drawn to when you walk in. Maybe it’s the wall behind your little breakfast table, or the space where you hang your copper pots. This is your stage. By focusing your budget here, you can afford a truly spectacular, high-quality paper that elevates the entire room. You get all the impact of a full-room job for a fraction of the cost and effort. It feels curated and designed, not just decorated.
And to make that one wall perfect, you must respect the materials.
4. Measure Precisely to Eliminate Costly Wallpaper Waste
Here’s some old-world wisdom that applies perfectly here: “measure twice, cut once.” This is the mantra of every great artisan, from weavers to woodworkers. And it should be yours, too. Being careless with your measurements is like throwing money and beautiful materials straight into the trash. It’s disrespectful to the craft and to your own hard work.
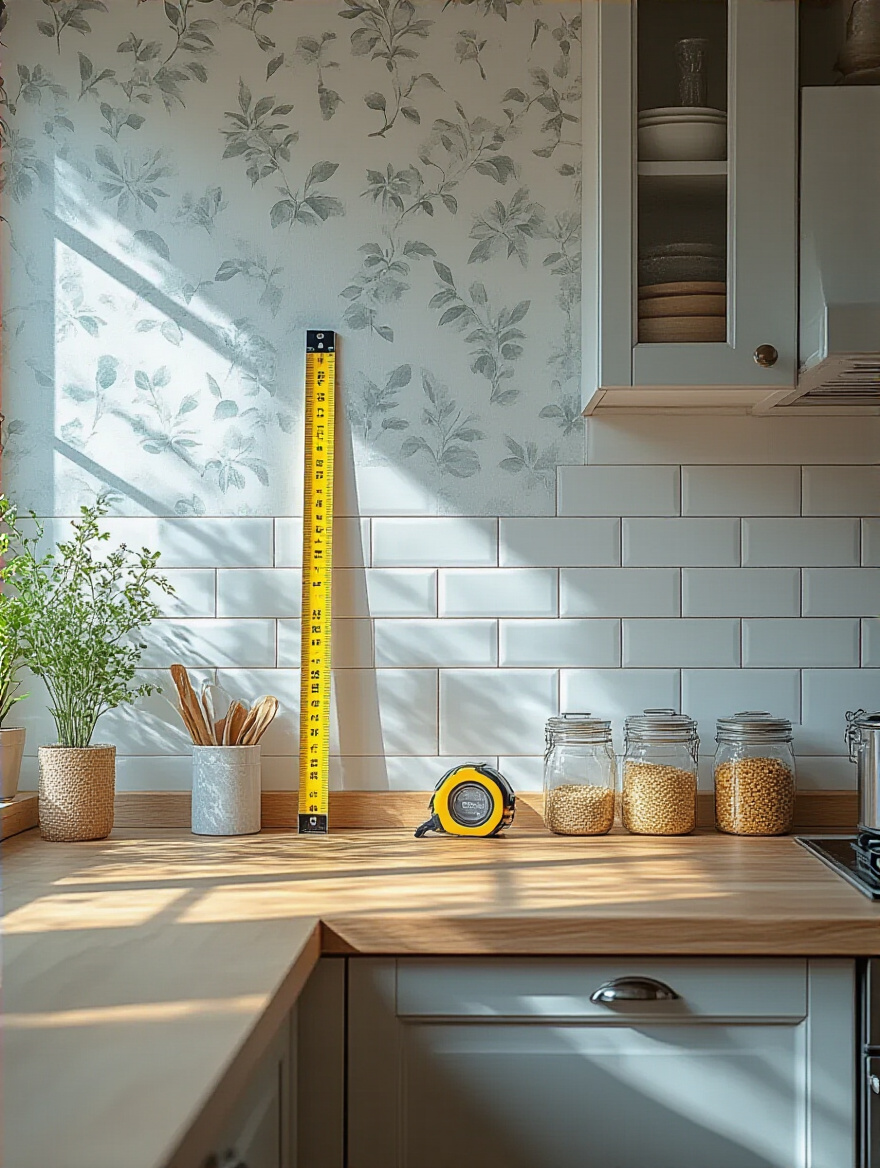
Take your time with this. Measure the wall’s height and width in a few different places—old houses have their quirks, and walls are rarely perfectly straight. Pay close attention to the “pattern repeat” on the wallpaper label. This tells you how often the pattern repeats and how much extra you’ll need on each strip to make sure it lines up perfectly. Forgetting this is the #1 rookie mistake. It’s better to have a little bit left over for future repairs than to be a few inches short on your last strip. That precision is what separates an amateur job from something that looks truly professional.
And before you even get out the tape measure, you can start dreaming.
5. Utilize Free Online Design Tools to Mockup Styles Before Buying
In the old days, an artist would create a boceto, a detailed sketch, to show a patron what a mural would look like. Today, we have something even better: online visualizer tools. And so many of them are free! Most wallpaper websites will let you upload a photo of your own kitchen and “try on” different patterns. This is an absolute game-changer, my friend.
This step saves you from costly heartbreak. You can see right away if that bold, large-scale banana leaf print that looked so amazing online actually overwhelms your small space. Or you might discover that a subtle geometric pattern you overlooked is the perfect thing to tie your cabinets and countertops together. Play with them! Try on a dozen styles. It’s a completely risk-free way to explore and build your confidence before you spend a single cent. It helps you make a choice from a place of joy, not fear.
And when you’re looking at those mockups, keep this little trick in mind.
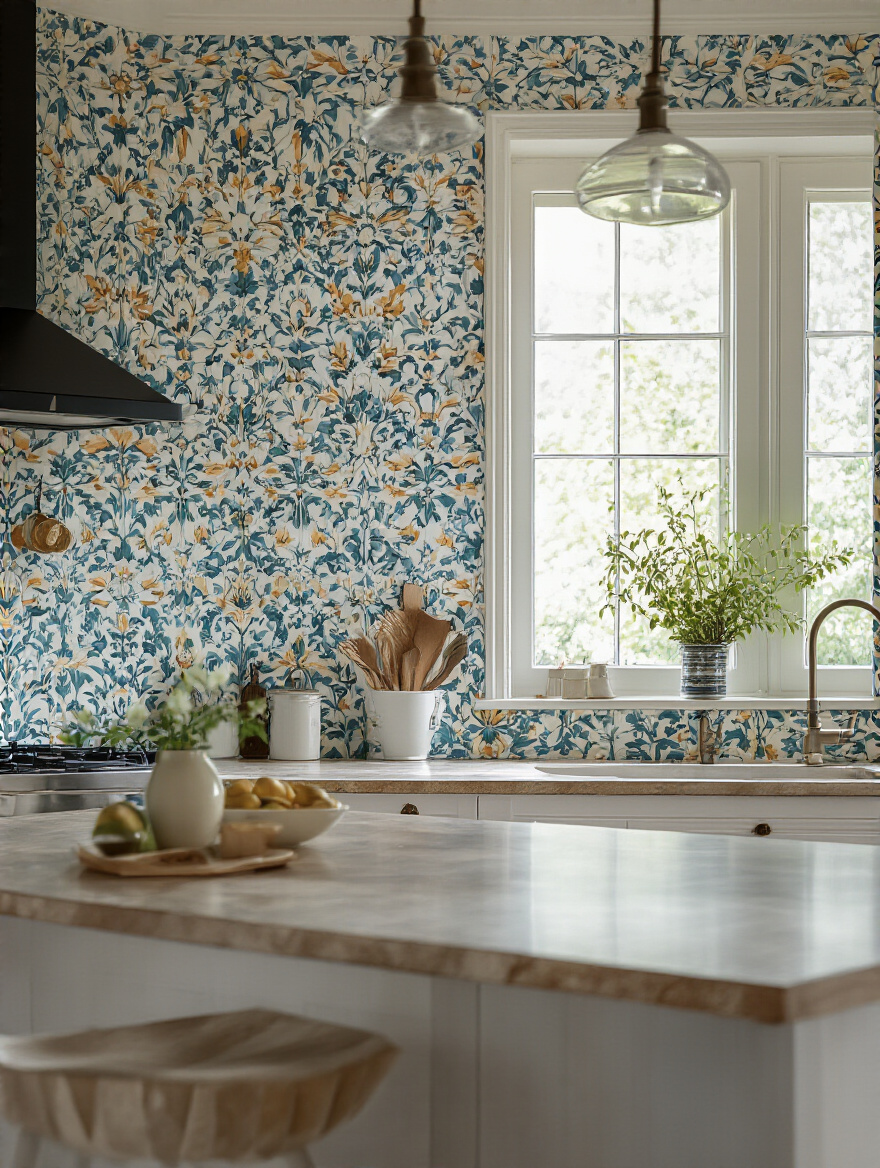
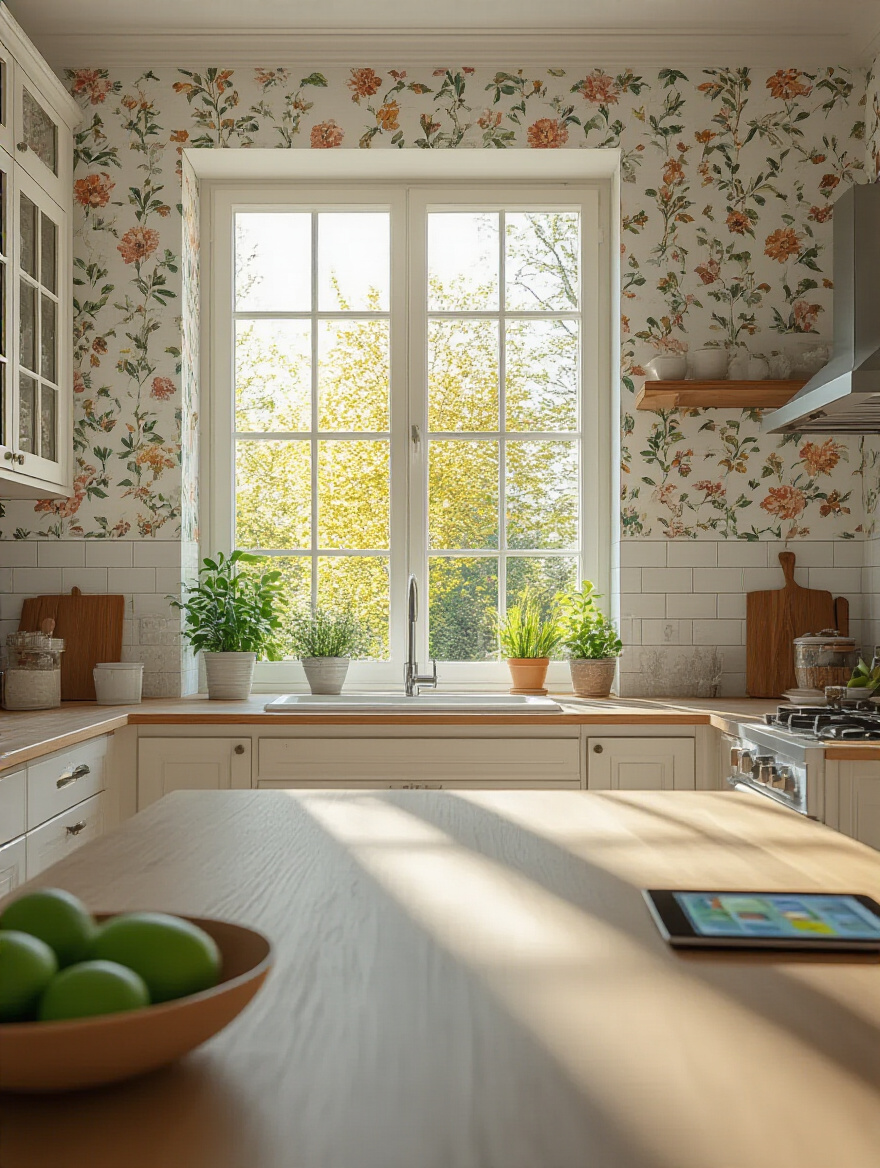
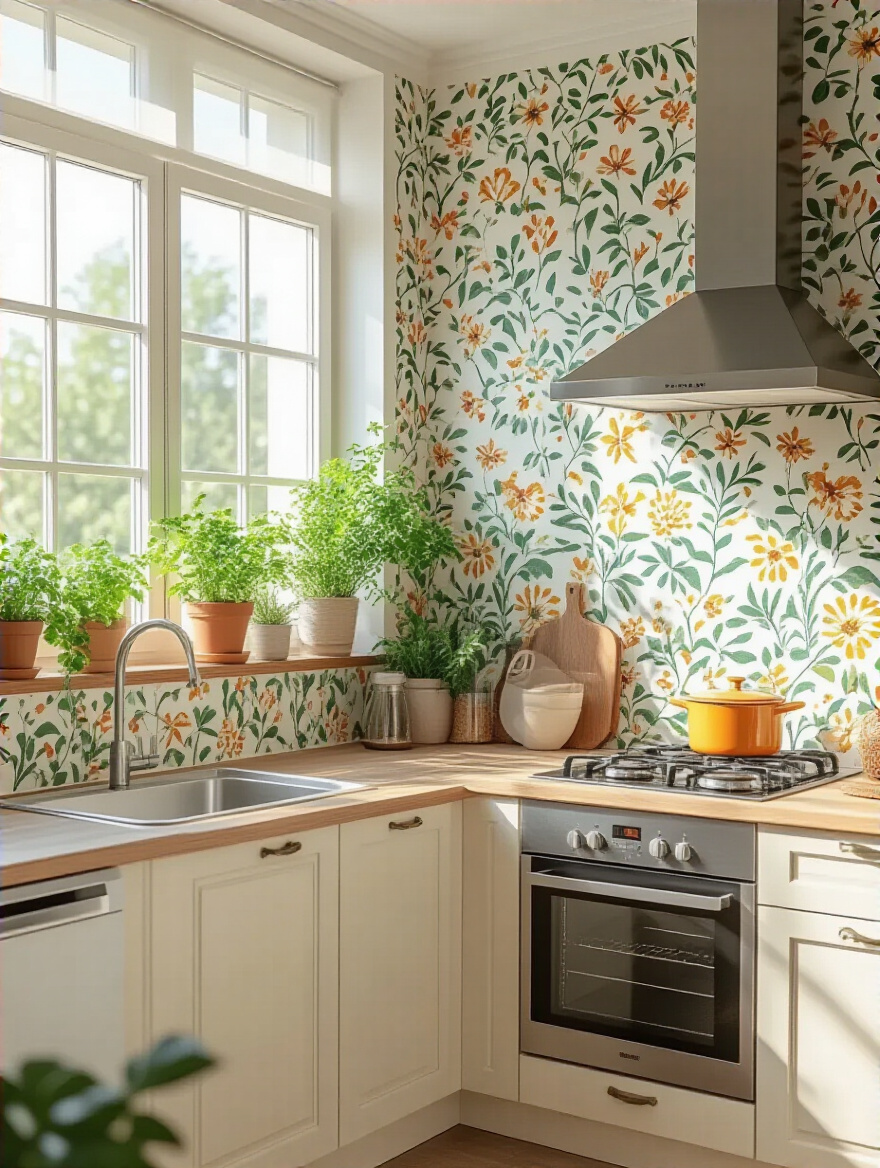
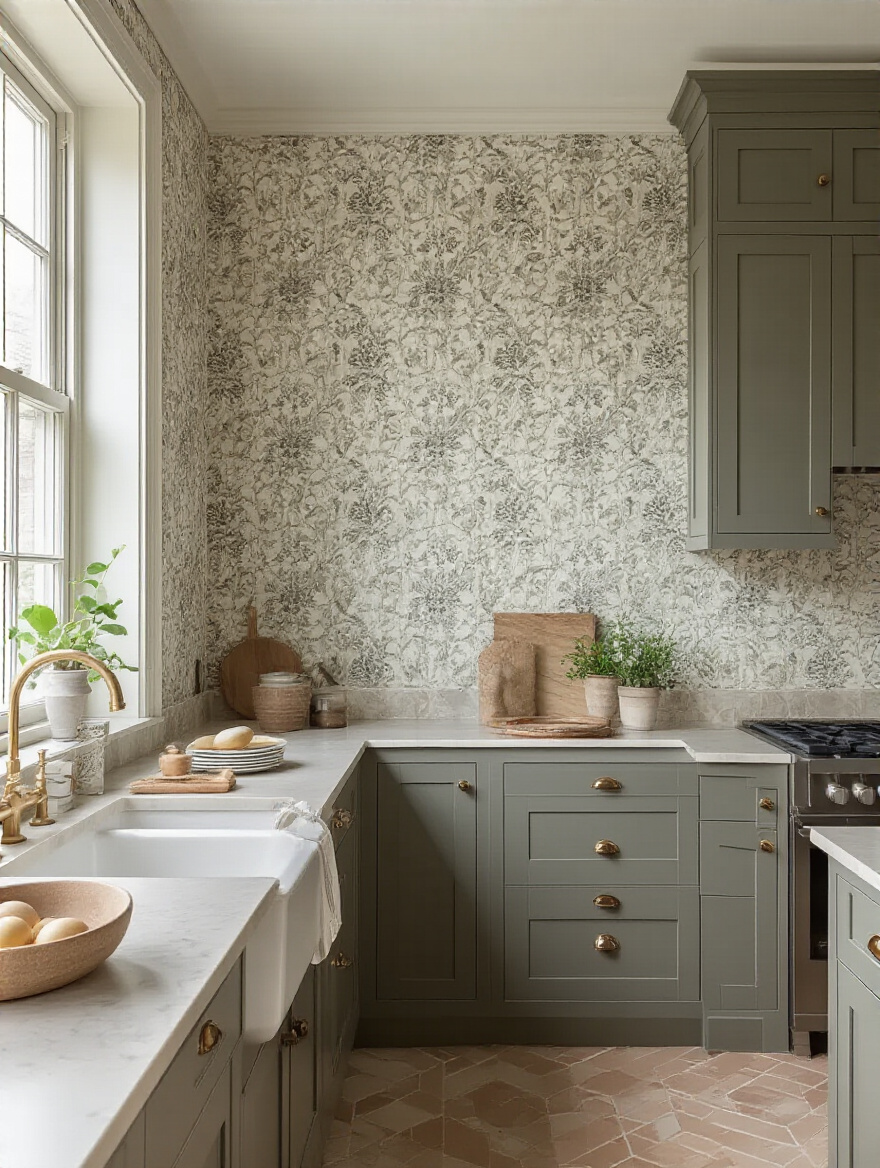
6. Select Lighter Colors or Small Patterns to Enhance Small Kitchens Economically
If your kitchen is small or doesn’t get a lot of natural light, your wallpaper can be your sunshine. Choosing lighter colors—creams, soft yellows, pale blues, leafy greens—is like throwing open a window. These colors reflect light and create an illusion of space, making everything feel airier and more open. It’s the feeling of a sun-drenched courtyard in Cartagena, even on a cloudy day.
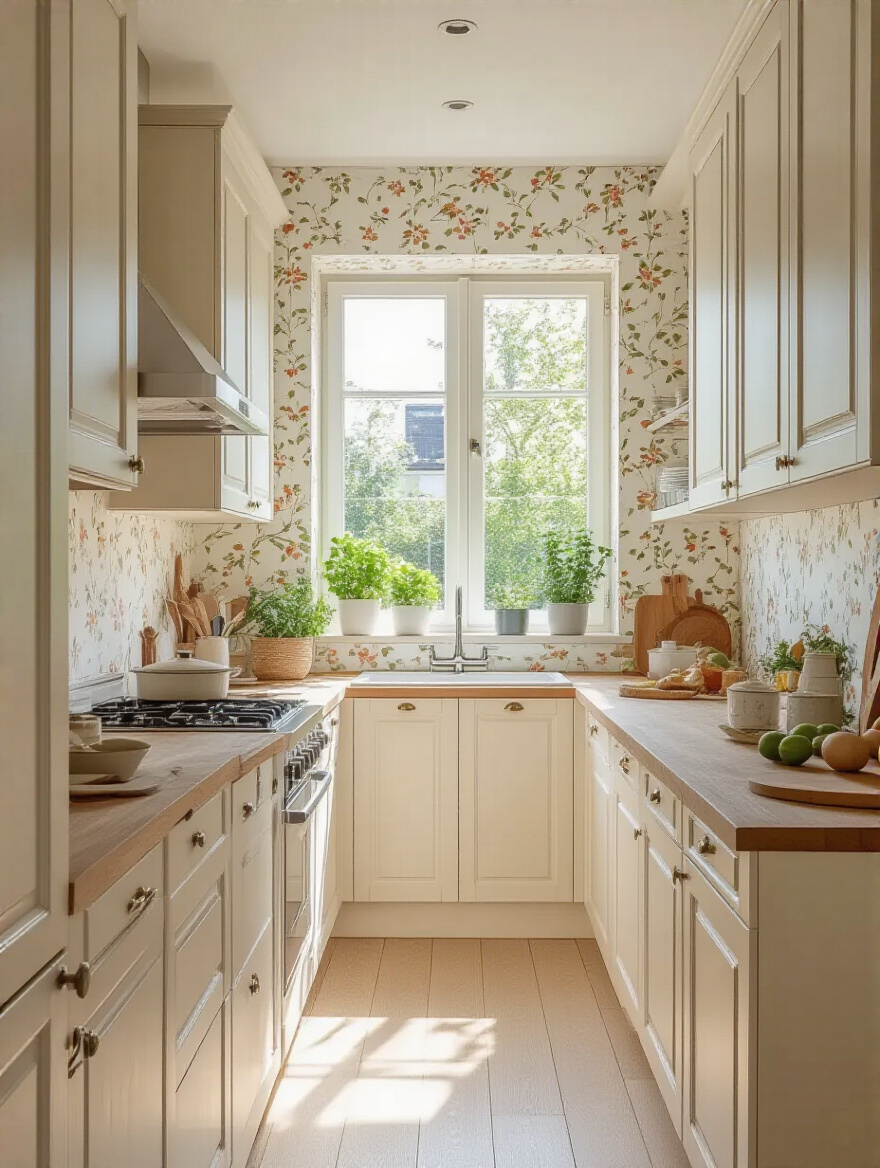
Small, delicate patterns can do the same thing. Think tiny florals, subtle geometrics, or a simple pinstripe. They add a layer of texture and interest without overwhelming the eye or making the walls feel like they’re closing in. It’s a way to bring in personality and detail that feels gentle and inviting. You’re creating a space that feels like a breath of fresh air, and you’re doing it with nothing more than a roll of paper and a bit of smart planning.
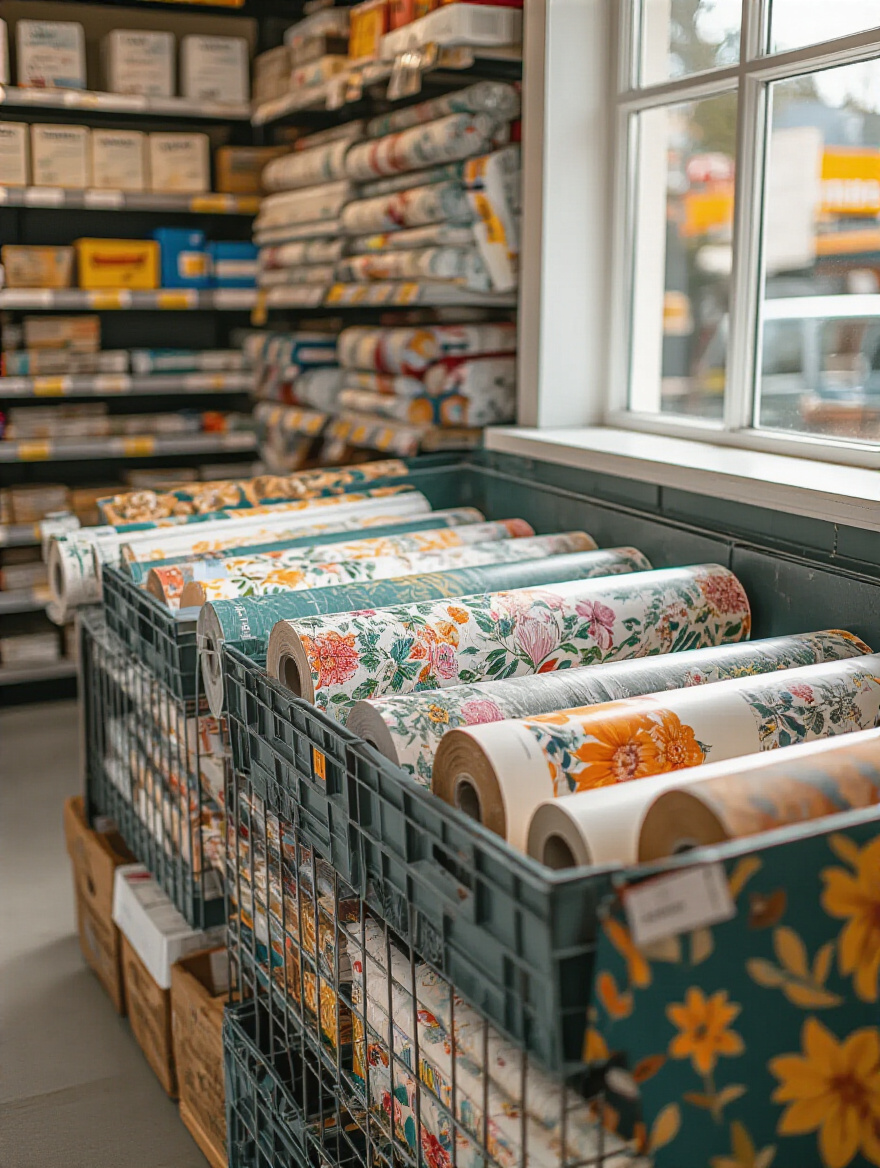
Savvy Sourcing: Finding Affordable Kitchen Wallpaper
Now for the hunt! This is my favorite part. Finding beautiful things for less is an art form. It’s not about buying cheap junk; it’s about discovering treasures. You have to have a good eye, a little patience, and know where to look. Think of yourself as a collector, searching for that one perfect piece to complete your story.
7. Hunt for Discontinued Rolls and End-of-Batch Sales
There’s a special magic in finding something that’s one-of-a-kind. When a company stops making a certain pattern, the leftover rolls become little treasures. These are often high-quality, designer papers that are being sold for a song just to clear out warehouse space. This is your chance to get that luxurious, expensive-looking paper you were drooling over for a tiny fraction of the price.
Your mission is to check the “clearance” or “sale” section of every online wallpaper shop you can find. Call your local paint and wallpaper stores, too—the small, independent ones are the best for this. Ask them if they have any “remnant bins” or discontinued stock. Just be sure to calculate exactly how much you need (plus a little extra!) because when it’s gone, it’s gone forever. You can’t go back for more. This makes your kitchen’s design totally unique—a story that can’t be replicated.
This same treasure-hunting spirit applies to online outlets, too.
8. Browse Online Closeout Retailers for Steep Discounts
Think of online closeout stores as a massive, digital flea market, but with brand new, high-end goods. These sites specialize in buying up overstock from designer brands and big retailers, and they sell it for incredible discounts. We’re talking 50, 60, even 80 percent off. You can find patterns that were in design magazines just a season ago.
The trick is to be patient and to check often. The inventory is always changing. Sign up for their email lists and set alerts for “wallpaper.” When you see something you love, act fast, but not before you check the details. Make sure you can buy enough rolls from the same “dye lot” to ensure the color is perfectly consistent. It’s a little bit of detective work, but the payoff can be a kitchen that looks like it cost a fortune, all while you secretly know you got the deal of a lifetime.
And don’t forget to look for treasure closer to home.
9. Check Local Hardware Store Clearance Bins and Returned Stock
Never, ever underestimate the power of your local hardware store. Tucked away in a back corner or on an end-cap, you will often find a clearance bin. This is where returned items, damaged boxes, and mis-orders go to find a new home. It’s an absolute goldmine for a patient treasure hunter. You can find a single, perfect roll of gorgeous paper for the price of a coffee.
Make it a habit to swing by and take a look whenever you’re nearby. Get to know the people who work there; they might even give you a heads-up when something good comes in. A single roll is often perfect for a small project like an accent wall, lining the back of your cabinets, or creating that faux backsplash we’ll talk about later. It’s about seeing the potential in what others have overlooked.
And speaking of potential in small things…
10. Leverage Large Sample Pieces for Small Projects like Backsplashes
Here’s a trick I absolutely love. It feels so resourceful and clever. Many wallpaper companies sell large “memo samples” so designers can see a bigger piece of the pattern. These samples, often around two feet by two feet, are little pieces of art in themselves. And they are perfect for very small projects where you just need a pop of pattern and soul.
Think about the space behind your stove or sink. You don’t need a full roll of paper for that! Two or three large samples of a stunning, high-end wallpaper can be pieced together to create a backsplash that looks like custom-installed tile. Just make sure to seal it with a clear, matte varnish to protect it from water and grease. It’s a way to get the look of a super-expensive material for pennies, using the scraps of the industry to create something uniquely beautiful.
The spirit of using what’s available also leads us to the pre-loved market.
11. Explore Second-Hand Marketplaces for Unused Rolls and Overruns
This is where you find things with a story. Exploring places like Facebook Marketplace, architectural salvage yards, or Habitat for Humanity ReStores is about more than just saving money. You might find vintage wallpaper from the 70s that is bursting with character, or a few unused rolls from someone else’s project. You are giving these beautiful materials a second life.
When you buy second-hand, you’re not just decorating; you’re adopting a piece of history. Imagine the home that this wallpaper was originally meant for! I always ask the seller for the story if they know it. Again, the rule is to make sure you get enough for your project, and check those dye lot numbers carefully. This is the most sustainable way to shop, and it guarantees your kitchen will have a layer of soul that you simply cannot buy new from a store.
Finally, there’s a much more direct way to get a deal.
12. Sign Up for Retailer Email Lists to Catch Exclusive Flash Sales
This might sound like a boring, modern tip, but trust me, it’s part of the savvy hunt. The best deals—the secret sales, the flash discounts, the coupon codes—are almost always sent to a company’s email subscribers first. Think of it as joining a private club. It’s a direct line to the best prices.
Create a separate email address just for this purpose so your main inbox doesn’t get cluttered. Sign up for every single wallpaper and home decor site that you like. Then, just sit back and wait. Within a week or two, the offers will start rolling in. A 20% off coupon here, a “free shipping” offer there… it all adds up. It’s the easiest, most passive way to ensure you never pay full price for something you love.
Budget-Friendly Installation Techniques for DIY Success
This is where the work becomes a meditation. The feel of the paper in your hands, the focus of smoothing out a bubble—this is how you pour your own energy and love into your home. Doing it yourself isn’t just about saving money on a professional; it’s about connecting with your space on a deeper level. You’re not just a resident; you are the creator.
13. Master DIY Paste Application for Traditional Wallpaper to Avoid Pre-Pasted Costs
There is a rhythm to applying traditional wallpaper with paste that I find so satisfying. It feels like an authentic craft. While pre-pasted paper is convenient, the unpasted versions are often higher quality, come in a much wider variety of incredible designs, and are almost always cheaper per roll. Learning to mix and apply your own paste puts you in control.
Think of it like learning to cook a family recipe from scratch instead of buying the pre-made version. You control the ingredients, the consistency, and the final result is always better. Watch a few videos online, buy a cheap tub of paste, and practice on a small piece first. The process of “booking” the paper—folding it paste-to-paste to let it rest—is a quiet, mindful step that connects you to generations of craftsmen who have done it the exact same way.
To do this right, you need the right companions.
14. Utilize Essential, Affordable Tools for a Professional Finish
You do not need a whole toolbox full of expensive, fancy gadgets. A true craftsman relies on a few simple, high-quality tools that they know how to use well. For wallpapering, all you really need is a sharp utility knife with lots of extra blades, a good straightedge, a smoothing tool, and a seam roller. That’s it. You can get a whole kit for less than $50.

A professional once told me, “The most important tool is a sharp blade. A dull blade tears paper and breaks your heart.” He was right.
Changing your blade frequently is the single best thing you can do to get clean, crisp cuts around outlets and windows. A plastic smoother will get out the air bubbles without damaging the paper, and a little seam roller will make your edges nearly invisible. Using these simple tools with care is what will make your work look like it was done by a seasoned pro.
And speaking of pros, you have a world of them at your fingertips.
15. Watch Free Online Installation Tutorials for Expert Guidance
We are so lucky to live in an age where we can learn directly from masters all over the world, for free. YouTube is your apprenticeship. You can find a video tutorial for every single type of wallpaper and every possible tricky situation, from wallpapering around a corner to working behind a radiator.
Before you start, watch a few different videos on the specific type of paper you’re using. You’ll pick up different tricks from each person. Then, when you’re actually working, use the “watch-and-pause” method. Watch a step, pause the video, do the step. It’s like having a patient teacher right there in the room with you. This is how you build the confidence to tackle a project you thought you could never do on your own.
Now let’s get creative with where you put that paper.
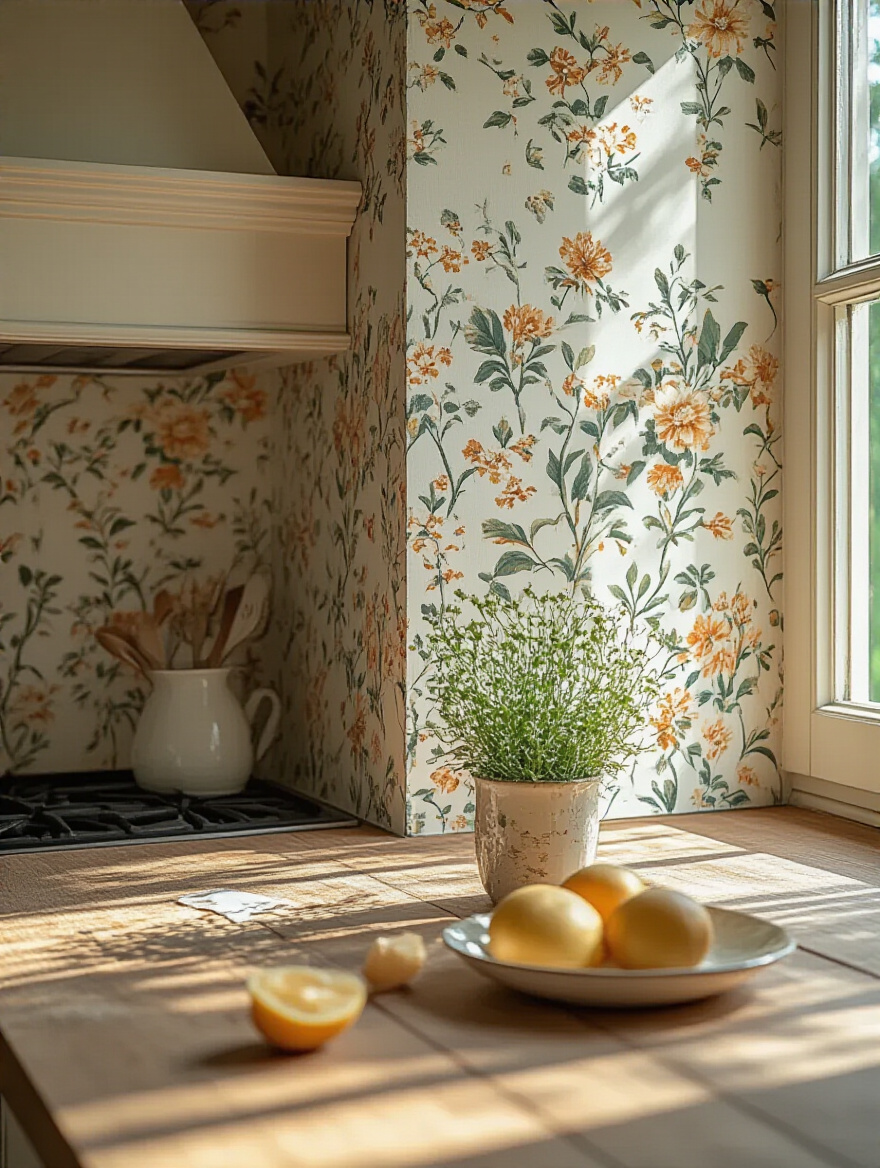
16. Apply Wallpaper Strategically Above Cabinets for Maximum Impact
That space between the top of your kitchen cabinets and the ceiling is one of the most neglected, yet most powerful, pieces of real estate in the room. Don’t ignore it! Adding a beautiful wallpaper here draws the eye upward and makes the entire kitchen feel taller and grander. It’s an old designer trick that works every single time.
Because it’s a relatively small area, you can use a really bold, exciting pattern here without it taking over the room. Think of it as a beautiful ribbon running around the top of your kitchen. It adds a pop of color and personality in an unexpected place, giving your kitchen a custom-designed feel. It’s a high-impact move that requires very little paper and a couple of hours of your time.
This idea of creating high-impact moments can also be applied to one of the most functional parts of the kitchen.
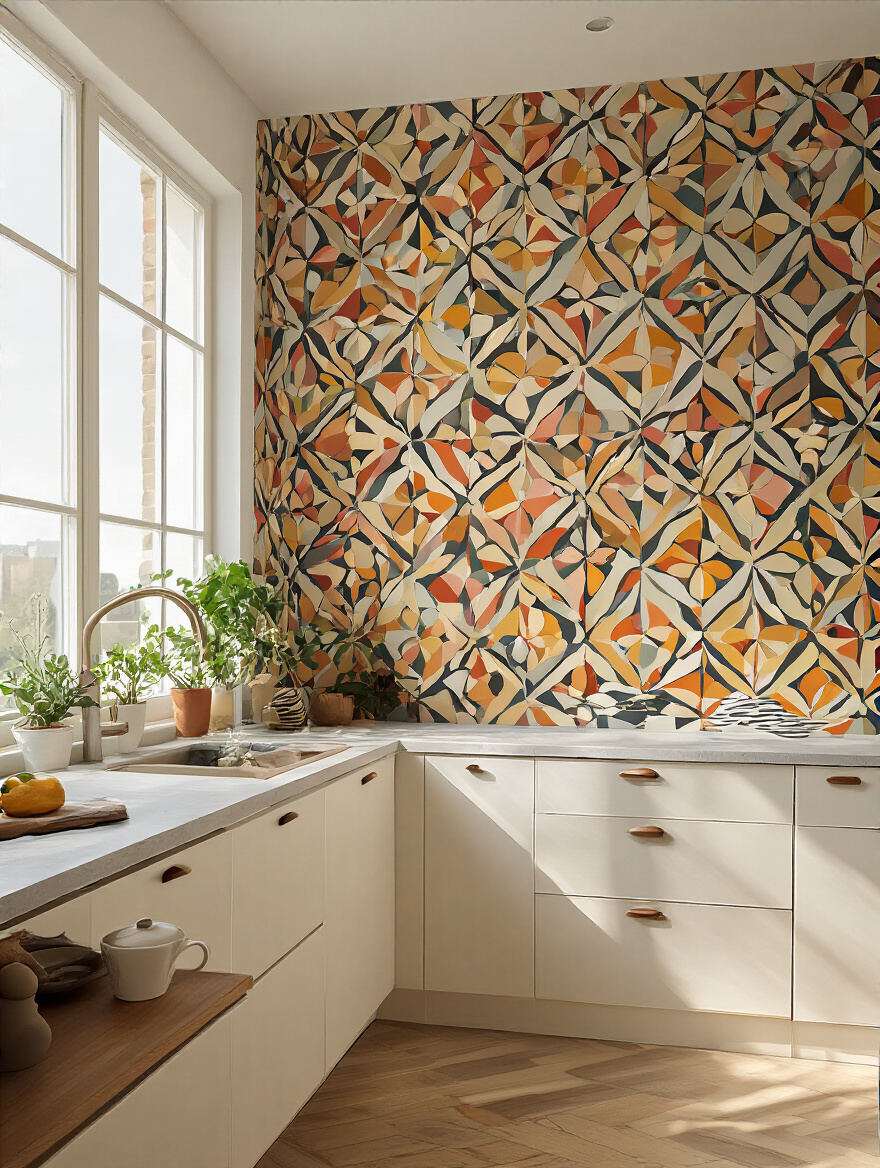
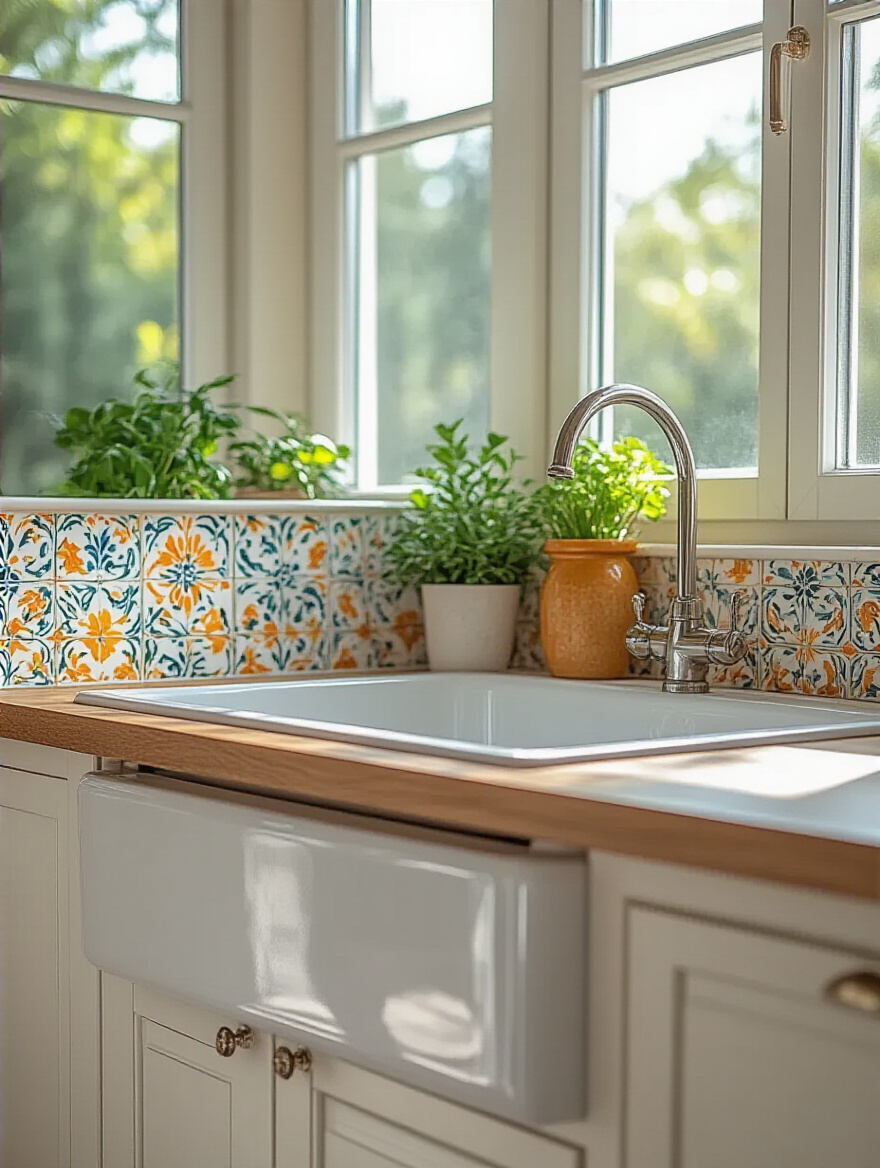
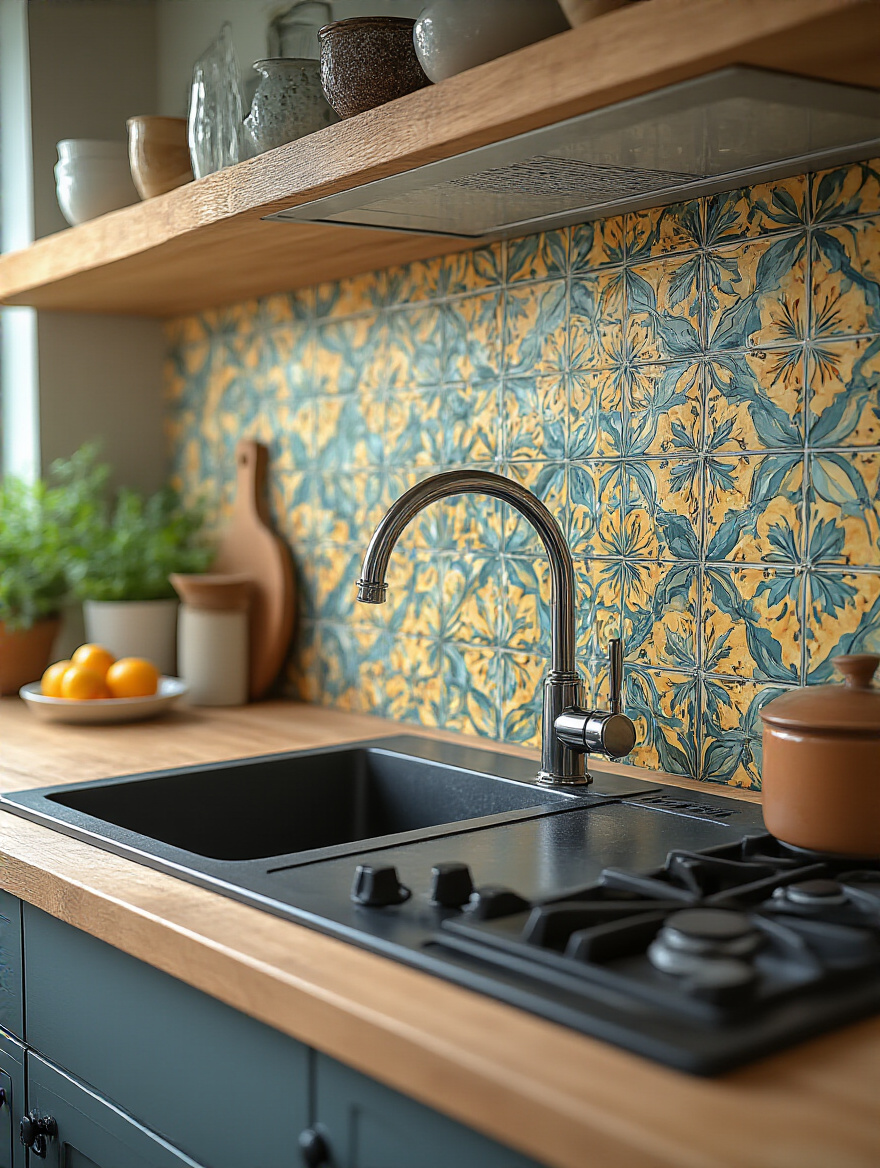
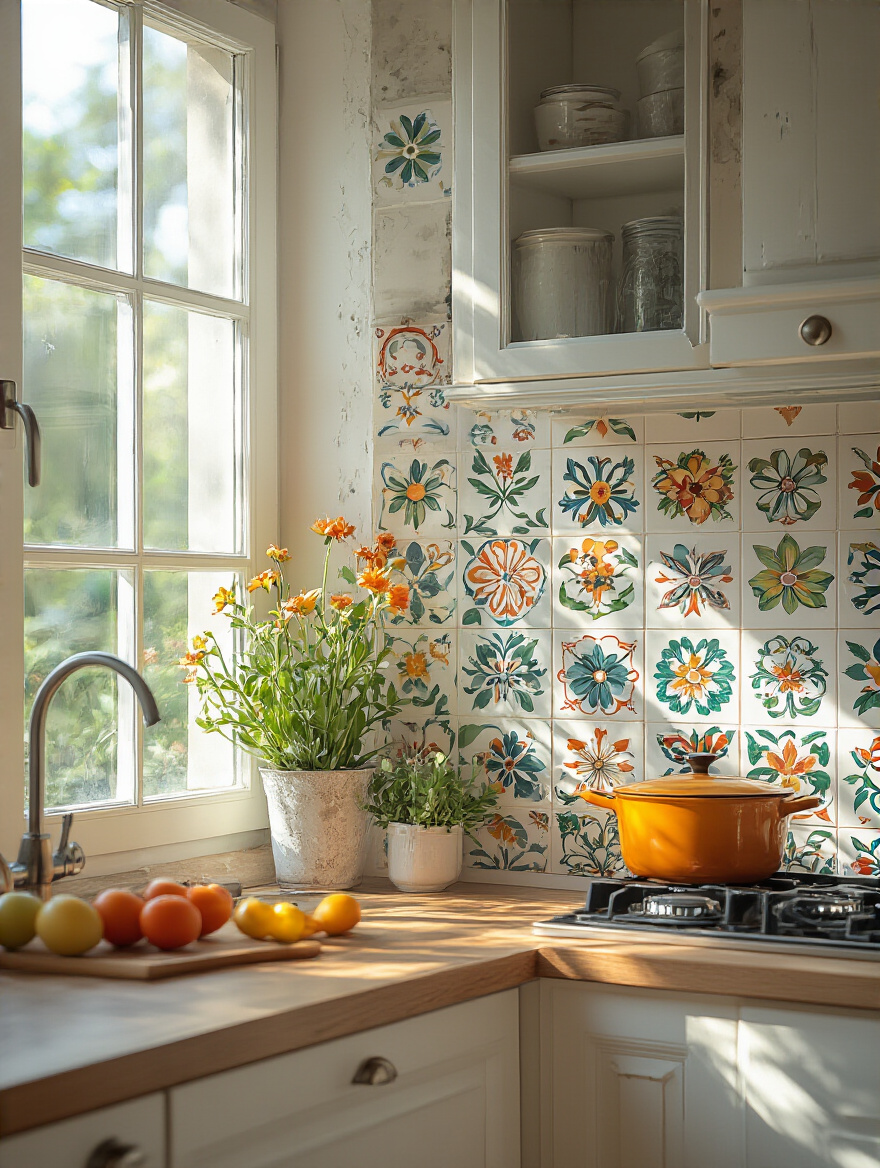
17. Create a Faux Tiled Backsplash Using Peel-and-Stick Wallpaper Sheets
I absolutely adore the look of handmade Talavera or intricate hydraulic cement tiles. They bring so much history and color to a kitchen. But a full tile installation can be incredibly expensive and messy. The beautiful secret? You can get that same vibrant, patterned look with special peel-and-stick wallpaper that’s designed to look like tile.

This is a game-changer for renters or anyone who wants a big transformation without a big commitment. Look for high-quality, vinyl-based “tile” wallpaper; it’s thick, often has a bit of texture, and is designed to be wiped down. From a few feet away, it’s nearly impossible to tell it’s not real tile. You can give your kitchen an entirely new personality in a single afternoon for under $100. It’s pure joy.
Wallpaper can also be a problem-solver.
18. Conceal Minor Imperfections with Wisely Chosen Patterns
Old homes have stories, and sometimes those stories are written on the walls in the form of hairline cracks, little dents, and uneven plaster. Many people think they need to spend a fortune on plastering and sanding to get a perfect surface. Not true. You can work with the character of your home by choosing the right wallpaper. It’s like the Japanese art of kintsugi—celebrating the imperfection.
A wallpaper with a busy pattern (like a dense floral or a complex geometric) or a tangible texture (like a faux grasscloth or an embossed design) is brilliant at hiding minor flaws. The pattern and texture play with light and shadow, and your eye is so busy taking in the beautiful design that it completely skips over the little imperfections underneath. You save so much time, mess, and money by choosing a forgiving pattern.
Maintenance & Optimization for Long-Lasting Value
Your work isn’t done when the last strip of paper is up. Now you must care for your beautiful walls. This isn’t a chore; it’s an act of respect for your home and the effort you put in. A little bit of love and attention will make your budget-friendly project last for years and years, giving you the best possible value.
19. Clean Regularly with Gentle, Homemade Solutions to Preserve Finish
You wouldn’t wash a delicate, hand-embroidered blouse with harsh bleach, would you? Treat your wallpaper with the same gentle respect. Regular, light cleaning is so much better than infrequent, aggressive scrubbing. A simple solution of warm water with a tiny drop of mild dish soap is all you usually need for washable wallpapers.
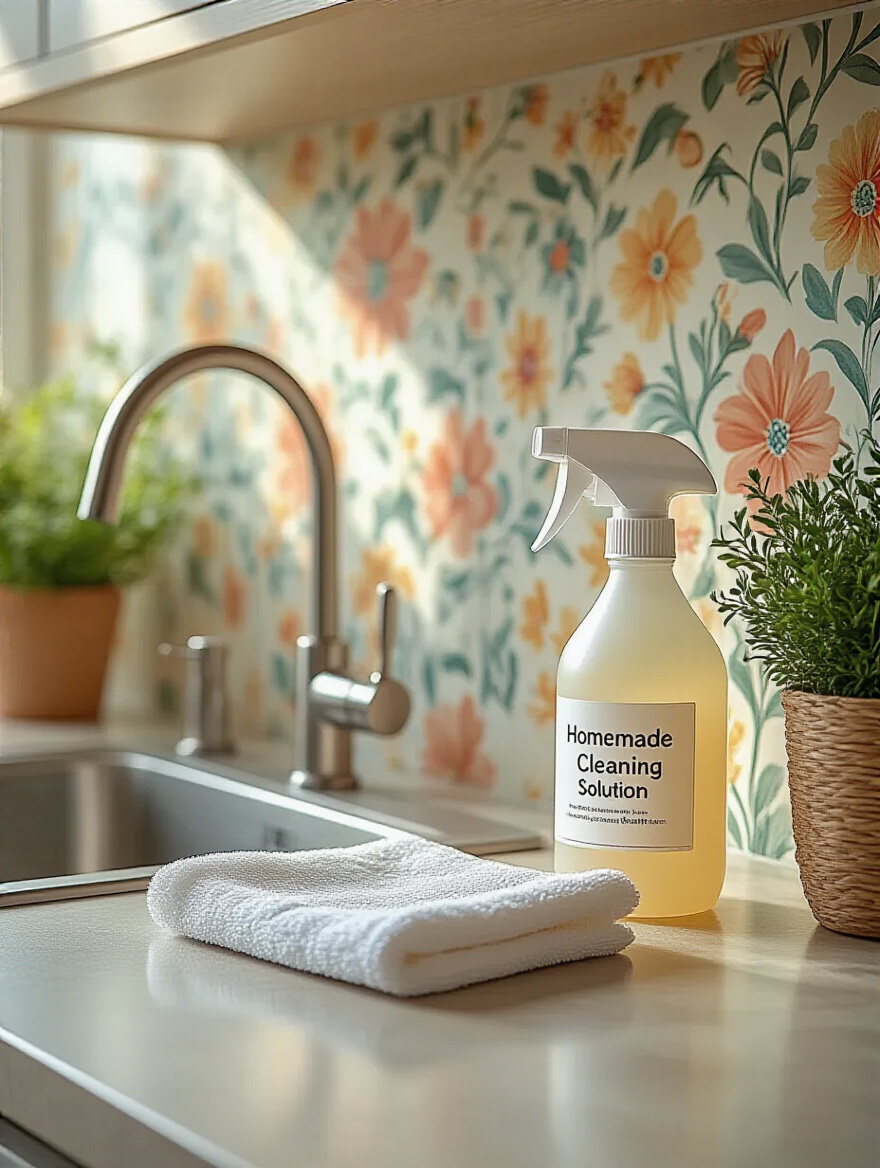
Keep a soft microfiber cloth handy and give the walls a gentle wipe-down when you see a splatter. For vinyl papers, a little white vinegar in the water can help cut through grease. Always test your cleaning solution in a hidden spot first. This simple ritual prevents grime from building up and keeps your colors looking fresh and vibrant, honoring your investment of time and money.
But what if a little accident happens?
20. Patch Small Tears and Damage with Matching Leftover Scraps
This is why you always, always save your leftover wallpaper scraps! A small tear or a ding from a chair doesn’t mean you have to re-do the whole wall. You can perform a tiny, perfect surgery that makes the damage disappear. This is another moment where you get to be a true craftsperson.
There’s a wonderful technique called a “double cut.” You tape your matching scrap over the damaged area, making sure the pattern aligns perfectly. Then, with a sharp knife and a straightedge, you cut a shape through both layers at the same time. You peel off the scrap, then peel the damaged piece off the wall, and your new patch fits in like a perfect puzzle piece. It’s a loving repair that tells a story of care.
To prevent damage in the first place, think about protecting the most vulnerable spots.
21. Seal Exposed Edges Against Moisture and Grease Ingress
The most vulnerable parts of your wallpaper are its edges, especially around the sink, behind the stove, and along the countertop. Moisture and grease are sneaky; they will try to creep in underneath and cause the paper to peel and bubble. You can stop them with one simple, final step.
Get a small tube of clear, waterproof, kitchen-and-bath-grade silicone or acrylic caulk. Apply a very thin, clean bead along any exposed edge. You can smooth it with a wet fingertip for a nearly invisible finish. This tiny bit of effort creates a seal that protects your hard work, extending the life of your wallpaper by years. It’s the professional’s final touch that ensures your installation will endure.
And for extra protection in the real “splash zones”…
22. Apply an Inexpensive Clear Protective Top Coat to High-Splash Zones
For the wall area directly behind your sink or stove—what I call the “war zone”—you can add an extra layer of invisible armor. A thin, clear, water-based top coat (like a matte polycrylic) painted right over the wallpaper makes the surface practically bulletproof. It becomes completely waterproof and scrubbable, so you can wipe away sauce splatters without a second thought.
This is an essential step if you used a more delicate paper or if you want your faux-tile backsplash to last as long as possible. Just make sure to test it on a scrap piece first to ensure you like the finish and it doesn’t change the color of your paper. This small extra step is a powerful shield that will protect your beautiful walls for years to come.
But even with the best care, life happens.
23. Strategically Cover Minor Wear and Stains with Decorative Decals
So, a permanent stain happens. Or your toddler draws a little masterpiece with a permanent marker. Do not despair! Before you think about tearing everything down, consider a little creative camouflage. A beautiful vinyl decal can be your secret weapon.
Instead of just a patch, think of this as adding a new layer to your kitchen’s story. A cluster of beautifully designed botanical decals can artfully cover a scuffed area near the table. A whimsical quote can hide a stain near the coffee maker. It turns a flaw into a feature, a mistake into a moment of intentional design. It’s playful, cheap, and brilliantly effective.
All of these tips for installation and maintenance, however, all rest on one fundamental truth.
24. Ensure Proper Wall Preparation to Prevent Future Peeling and Damage
I’m ending with the most important step because it’s the one people are most tempted to skip. You cannot build a beautiful house on a weak foundation. Your wall is your foundation. No matter how beautiful or expensive your wallpaper is, if the wall beneath it is dirty, greasy, or flaky, your project is doomed to fail.

Taking the time to properly prepare your walls is an act of love for your home. Wash them with a good degreaser. Fill any holes and sand them smooth. Most importantly, apply a coat of wallpaper-specific primer. This seals the wall and gives the adhesive the perfect surface to grip onto. It ensures your paper goes on smoothly and, more importantly, stays on. Rushing this step is a false economy. Honor the process, and the results will honor you back.
Conclusion
So you see? A kitchen with soul, with life, with beauty, is not about how much money you spend. It’s about how much love and intention you put into it. It’s about hunting for treasure, learning a craft, and celebrating the story of your home. By being resourceful, by getting your own hands involved in the process, you create something that is so much more than just a decorated room. You create a space that feels uniquely, authentically yours.
Don’t be afraid of the patterns that make your heart sing. Don’t be intimidated by the process. Start with a small wall. Experiment. Play. Use these secrets to make smart choices, and you’ll find that a kitchen that truly feeds your soul is within your reach. Your beautiful, budget-friendly journey starts now.